In This Guide:
Related Guides:
Contracting
eContracting from a Spot Buy
What is a Spot Buy?
Typically eContracting requires that a credit application has already been submitted and approved before you can begin the eContracting process.
However, if your finance source supports Spot Buy, you can begin the eContracting process before you have a submitted and approved credit application affiliated with the deal.
A Spot Buy can also be created if the credit application or credit bureau was previously saved.
How do I complete an eContract starting from a Spot Buy?
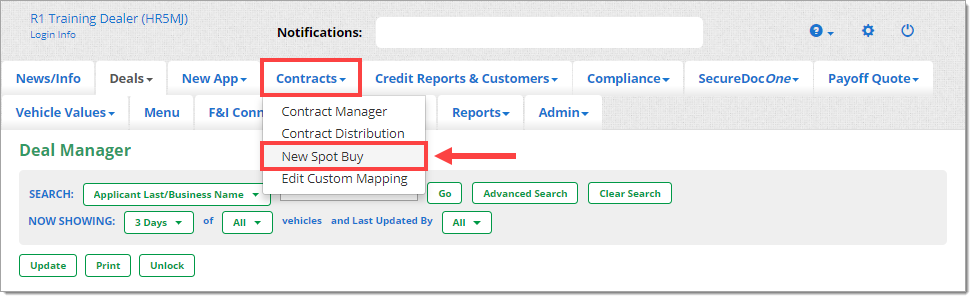
From the ‘Contracts’ navigation tab, select the ‘New Spot Buy’ from the dropdown.
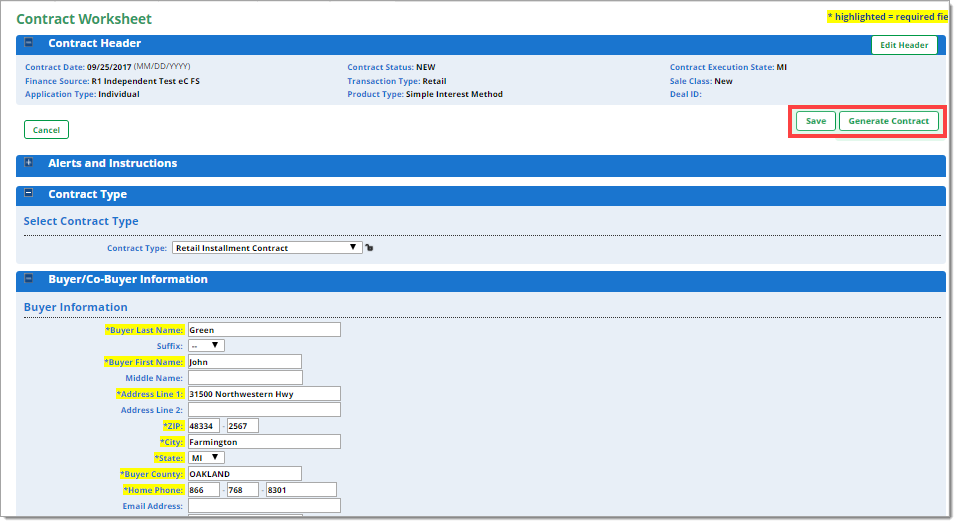
As with a standard eContract, you will be directed to the ‘Contract Worksheet’ page to begin the eContracting process. Complete the Contract Header and click ‘Save'.

The Contract Header will save and the rest of the ‘Contract Worksheet’ will become available to complete. Because this is a Spot Buy, there is no submitted and approved credit application affiliated with the deal. Information which would have been populated from the credit application (such as Buyer, Vehicle, etc.) will need to be input manually.
Scroll through and complete the required fields in the Contract Worksheet. Note that the required fields will vary depending on the finance source you use.
Once you have completed all the necessary fields of the Contract Worksheet, click the ‘Save,’ ‘Generate Contract,’ or ‘Validate’ (if available) buttons, in either the bottom right or top right-hand corner of the page.
- ‘Save’ - You can ‘Save’ the worksheet to complete it later.
- ‘Generate Contract’ - This button generates the ‘Contract Package’ page, which is the next step in the eContracting process.
- ‘Validate’ - Note that if the ‘Validate’ button is available for a Spot Buy, it is only undergoing internal RouteOne validation and not external Finance Source validation. The ‘Validate’ button, if available, will always be optional for a Spot Buy.
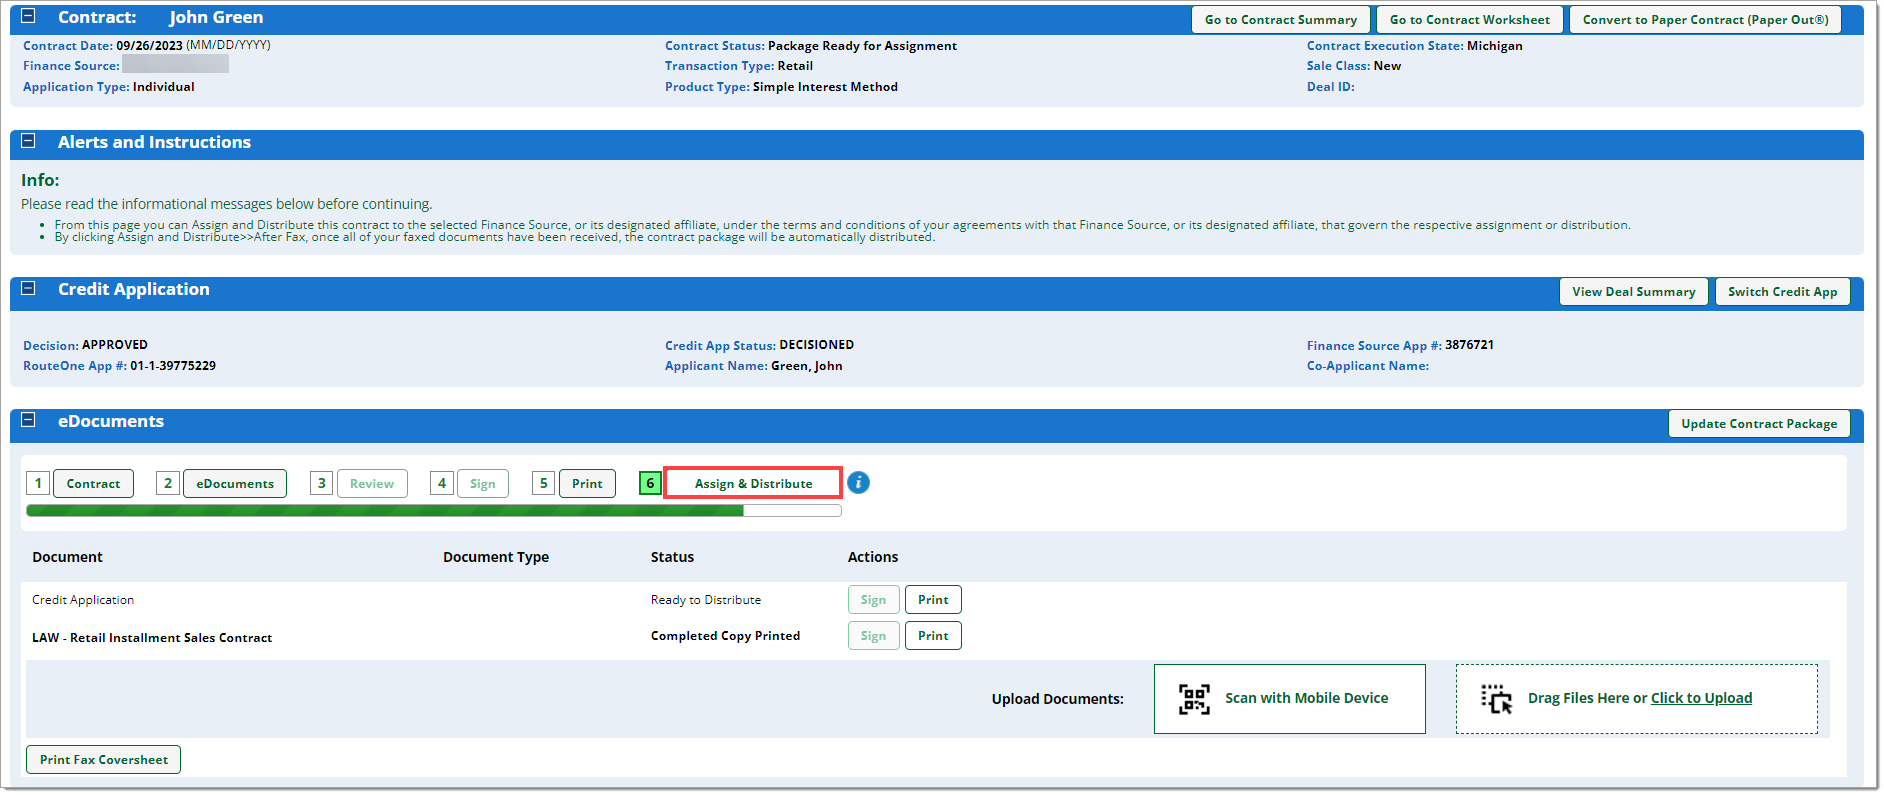
Once you click the ‘Generate Contract’ button, you will be directed to the ‘Contract Package’ page. As with a standard eContract, you will need to complete each of the steps (eDocuments, if needed; Review; Sign; Print, Assign and Distribute) under the ‘eDocuments’ section.
You must have a completed and approved Credit Application in order to distribute the ‘Contract Package.’ You can complete the Credit Application at any time in these steps, but you cannot progress past the ‘Print’ step until you complete the Credit Application.
Click the ‘Complete Credit App’ button.
Some Finance Sources require a signed credit application before you can distribute the contract. If the Finance Source requires a signed credit application, it will be noted in the ‘Alerts and Instructions’ section of the Contract Package.

‘Complete Credit App’ Options
Clicking ‘Complete Credit App’ will show you one of two possible options.
Option 1. ‘Select Credit Application Decision’ Page
After clicking ‘Complete Credit App,’ this page will be present if you either a) created a Credit Application in your DMS and imported it over to RouteOne; or b) if you created a Credit Application at some earlier point in the RouteOne system, but did not create a contract from it at that time. Note that credit applications show up on this list based on their matching the Social Security Number or name of the customer.
- From the ‘Select Credit Application Decision’ page you can either elect to pair the Contract Package with one of your previously created Credit Applications, or you can create a new credit application. Select one of the options and then click ‘Save & Continue.’
- If you select a Credit Application that has already been submitted and approved, you will be able to immediately Assign & Distribute the contract once you click ‘Save & Continue’ and return to the ‘Contract Package’ page. If you select the option to create a new Credit Application, you will have to wait for the application to be approved before you can assign and distribute the contract.

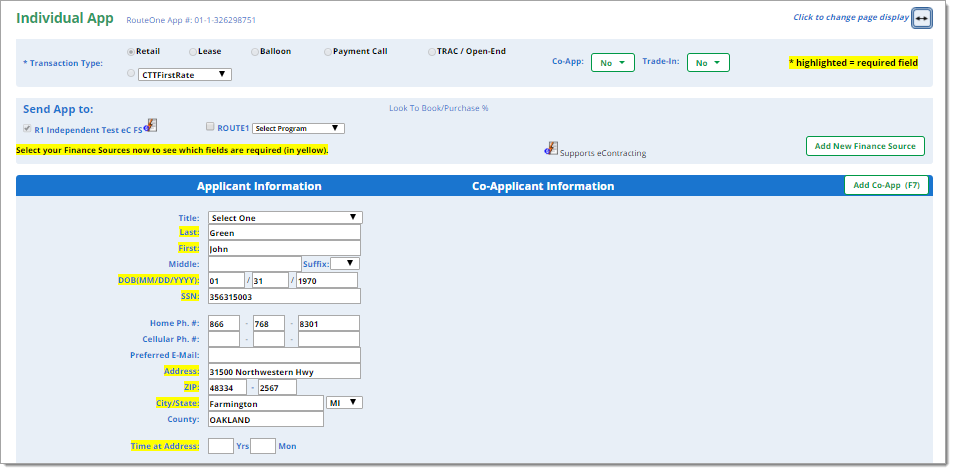
Option 2. ‘Individual App’ page
After clicking ‘Complete Credit App,’ this page will present if there is no matching Credit Application (based on the customer’s Social Security Number or name) in the RouteOne system.
- In the ‘Individual App’ page, complete any missing information needed for the Credit Application. Note that available information from the Contract Worksheet will be automatically populated in the Credit Application to reduce the need to reenter information.
- When you are finished, you will need to ‘Sign’ and ‘Submit’ the Credit Application, in the bottom right-hand corner of the page. Note that you will have to wait for the application to be approved before you can assign and distribute the contract.
Assign and Distribute
Once you have a submitted and approved Credit Application, you can assign and distribute the contract. You can check the status of the Credit Application in the ‘Deal Manager’ page (from the ‘Deals’ dropdown navigation tab).
Depending on whether you opted to associate a Credit Application or create a new one, you may need to navigate back to the ‘Contract Package’ page. If you are in the ‘Contract Manager’ page, click the customer’s name to return to their Contract Package to continue with the eContracting process.
From the ‘Contract Package’ page, click the ‘Assign & Distribute’ button to send the contract to the finance source.
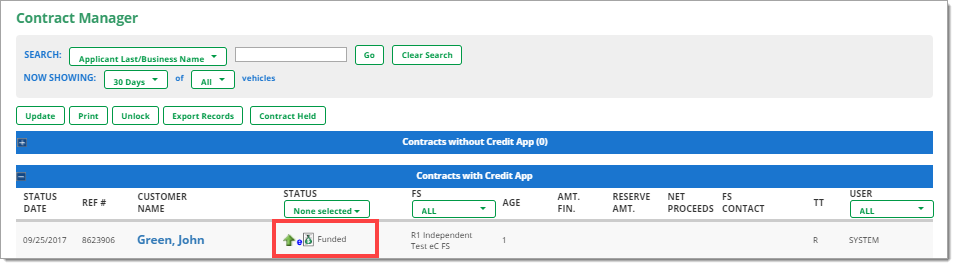
Once you have assigned and distributed the contract, you can check its status in the ‘Contract Manager’ page.
eContracting terms, statuses, and iconsGeneral terms, statuses, and icons
ROUTEONE SUPPORT
Hours (EST)
Monday - Friday: 6:00am – Midnight
Saturday: 9am – 9pm
Can’t find what you need?
Try our search
