In This Guide:
Related Guides:
Menu
Creating Deals in RouteOne Menu
Creating a Deal
There are multiple ways to create a deal in RouteOne Menu:
- Imported from a DMS
- Imported using Quorum
- Pushed from RouteOne
- Manual/Quick Entry
The Deal Wizard is the part of the Menu where all deals are created, whether through import, RouteOne push, or manual entry. It can be accessed through the home page or the F&I Deals page.
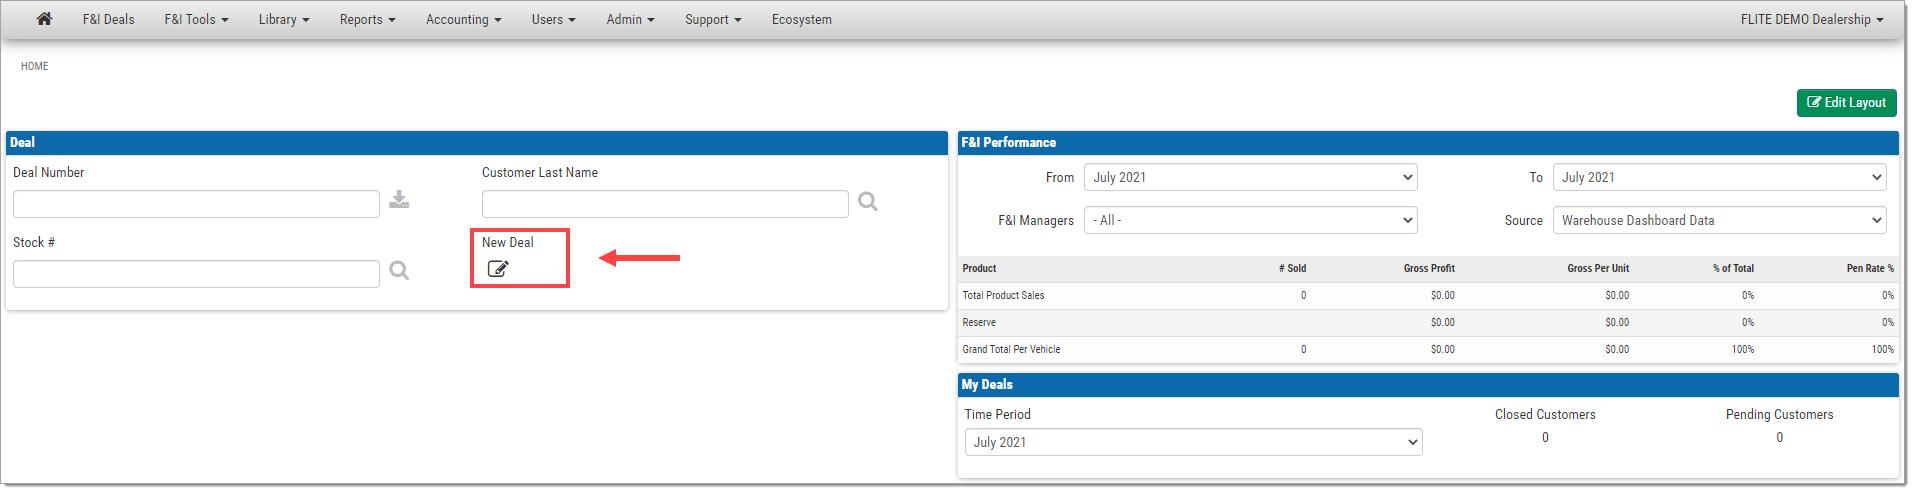
To access the Deal Wizard from the home page, click the ‘Home’ icon. Once on the home page, click ‘New Deal.’
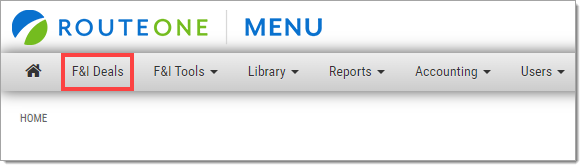
To access the Deal Wizard through the F&I Deals page, click ‘F&I Deals’ on the top navigation.
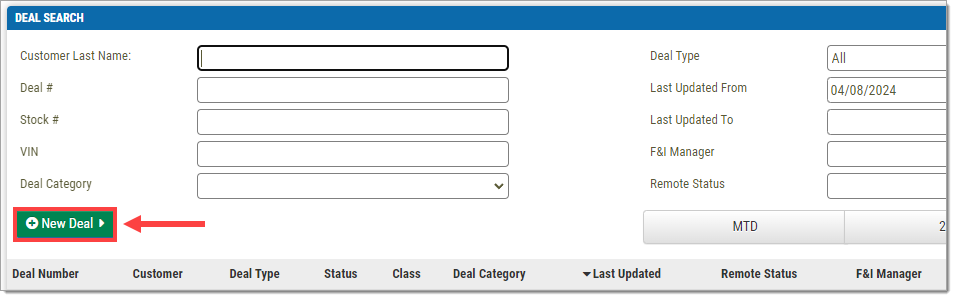
On the F&I Deals page, click ‘+New Deal.’
Select ‘Vehicle Sale.’
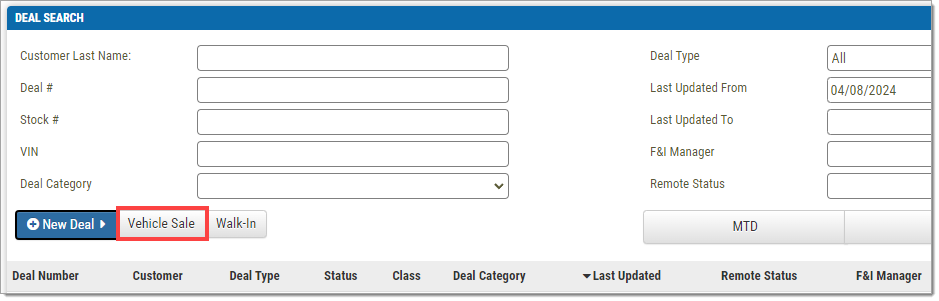
Both of these methods will direct you to the Deal Wizard page.
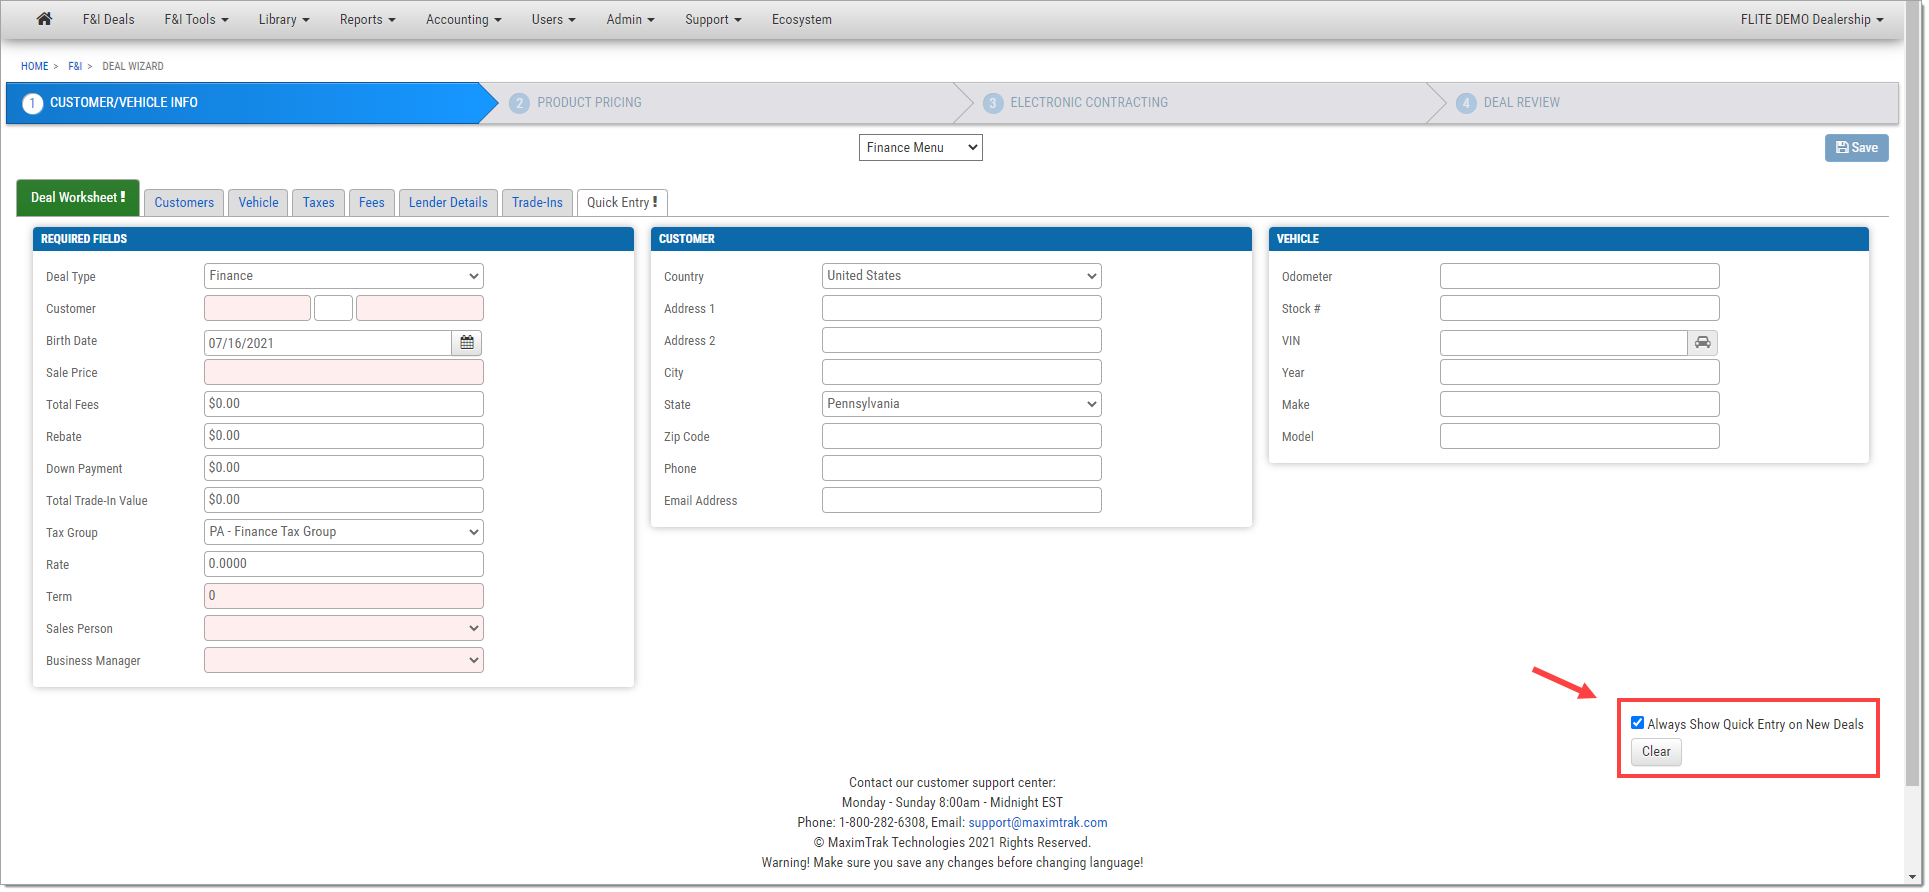
To default to the Deal Worksheet tab instead of the Quick Entry tab, uncheck the ‘Always Show Quick Entry on New Deals’ box in the bottom right-hand corner of the Quick Entry page.
This will automatically save, so this setting can be updated even without actually creating a new deal.
Importing a Deal from a DMS
To import a deal from a Dealer Management System (DMS), on the F&I Deals page enter the deal number, then click the ‘Enter’ icon. A New Deal will be generated with the fields auto-populated with information from the DMS.
Deals can also be imported from a DMS in the same way on the Home page or the Deal Worksheet of an existing deal.

Creating a Deal using the 'Quick Entry' Option
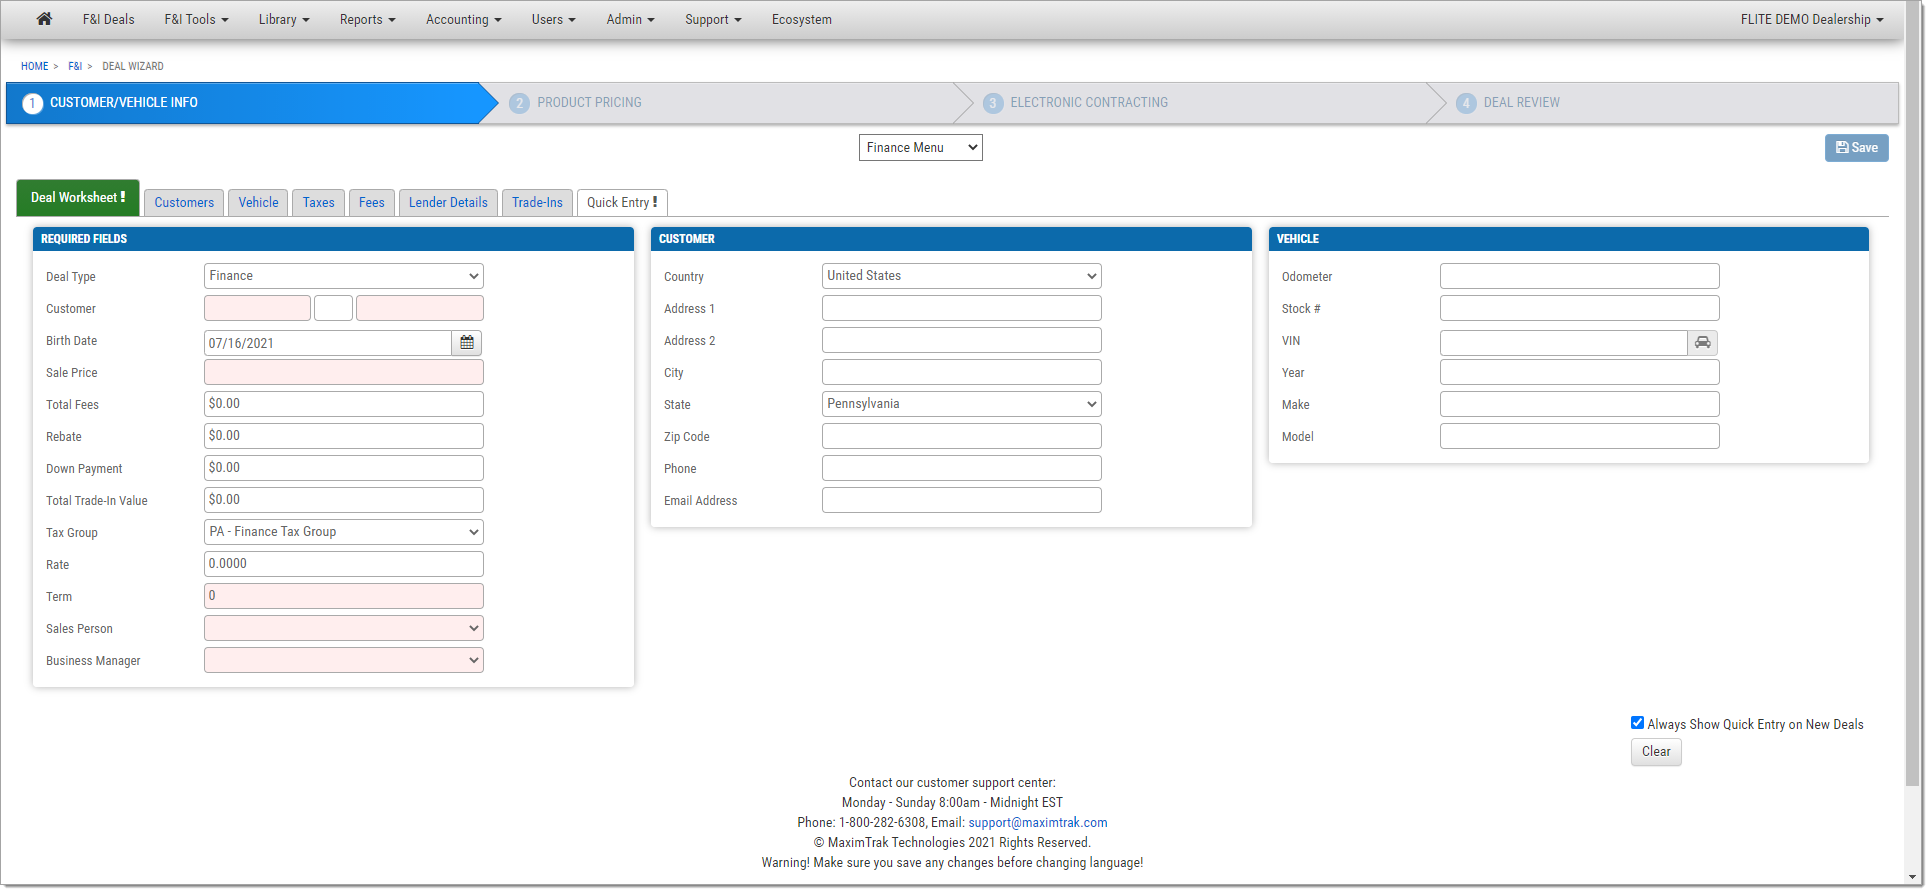
To use the Manual/’Quick Entry’ option, first create a New Deal using the steps above.
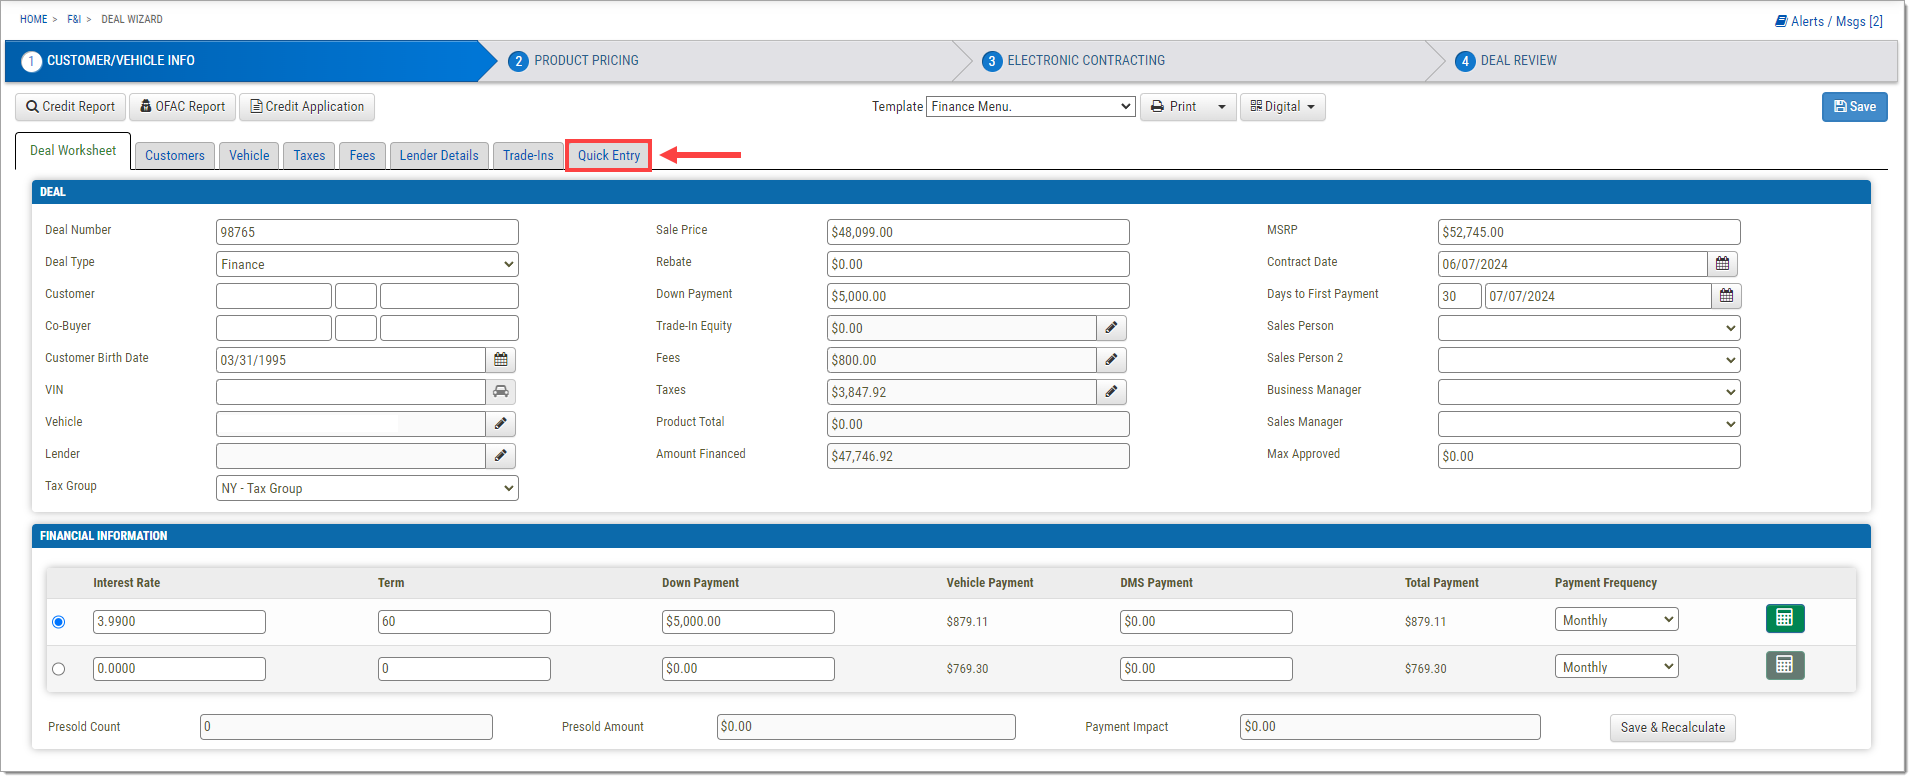
In Step One of the Deal Wizard, make sure the ‘Quick Entry’ tab is selected.
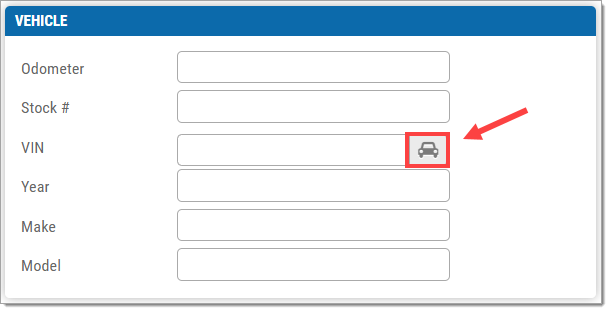
Fill in the fields.
Important Note: Fields highlighted in red are required before moving to the next step.
The more information you input at this step, the more accurate the payment information will be.
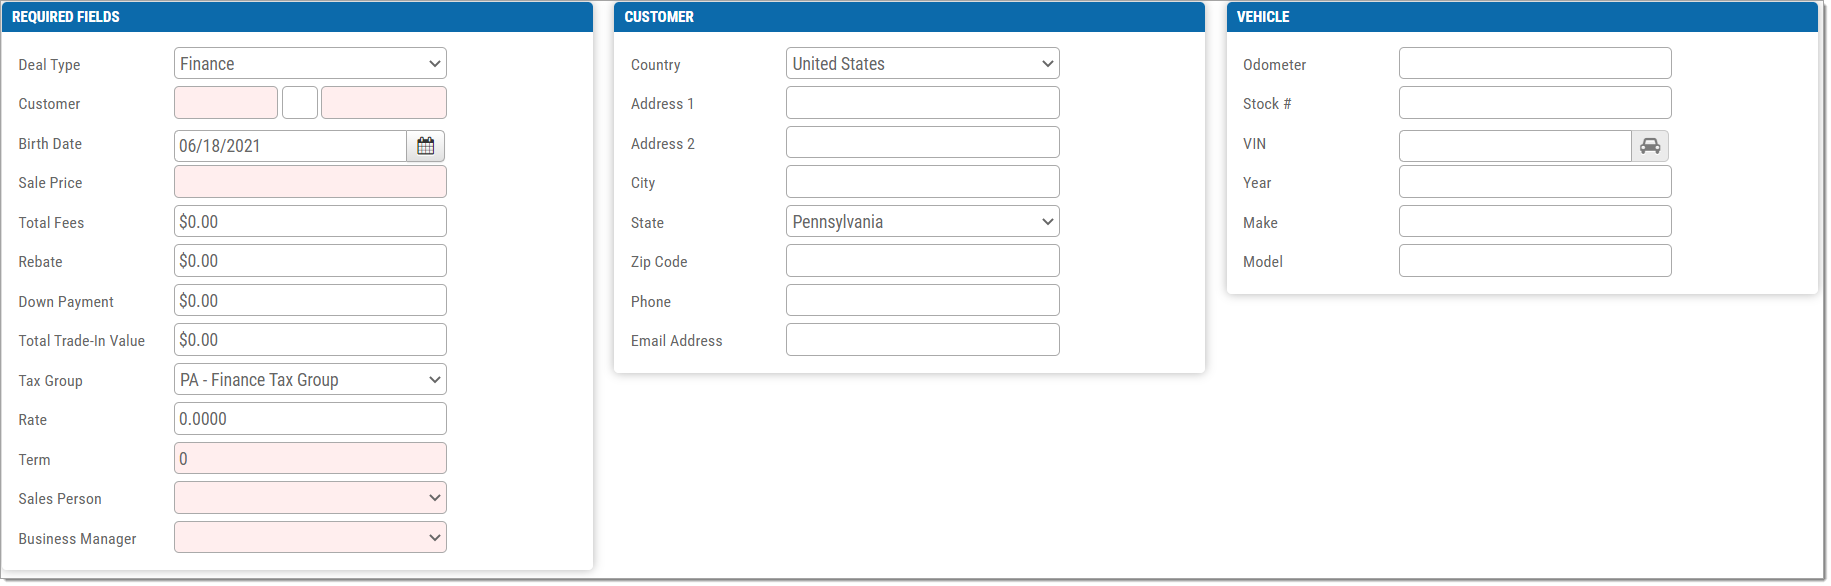
Once you enter the VIN, click the car icon to auto-populate the ‘Year,’ ‘Make,’ and ‘Model’ of the vehicle.
Click the ‘Save’ button in the upper right-hand corner.
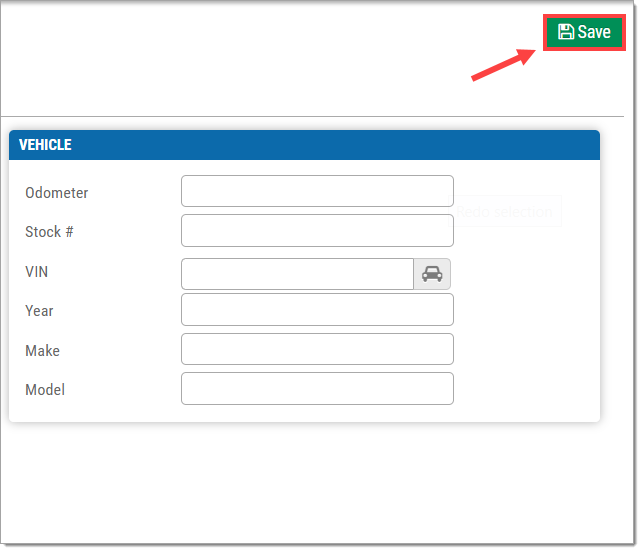
You will be returned to Step 1 of the Deal Wizard, and you can continue with the Menu Presentation. You can change the Deal Type (Finance, Cash, Lease, etc.), the Default Menu, the product pricing, or anything else you would like.
Pushing a Deal from RouteOne
The Deal Worksheet
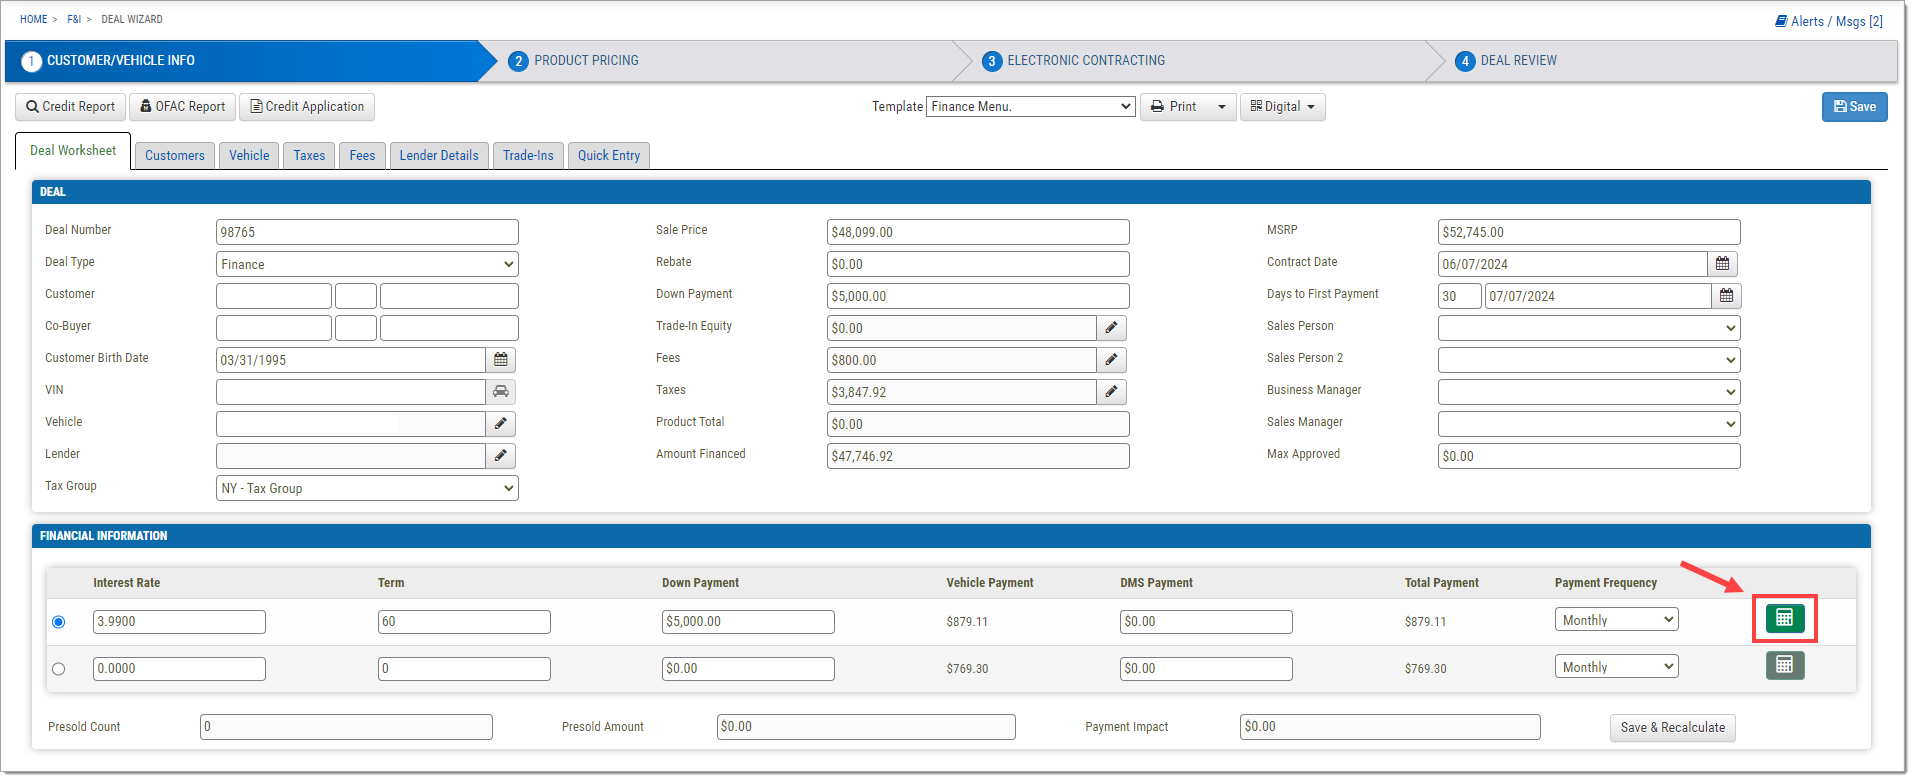
The Deal Worksheet shows the majority of the deal information, including payment options, and allows you to recalculate those payment options and roll the payment using the calculator icon.
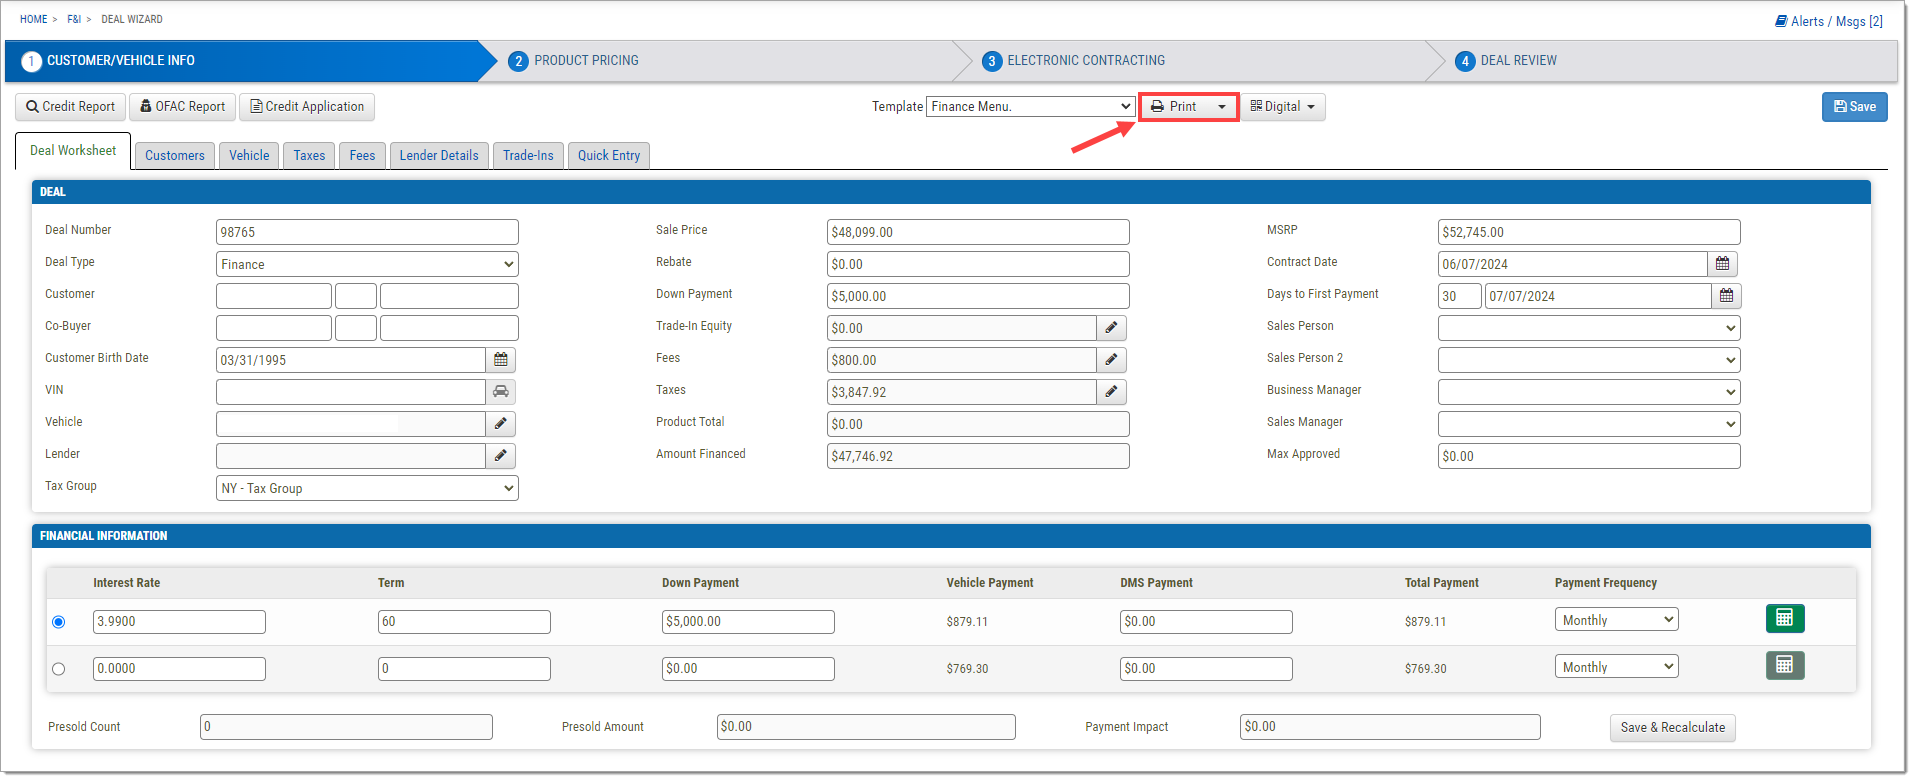
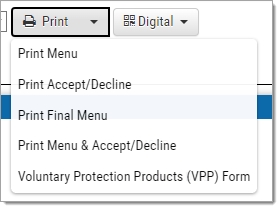
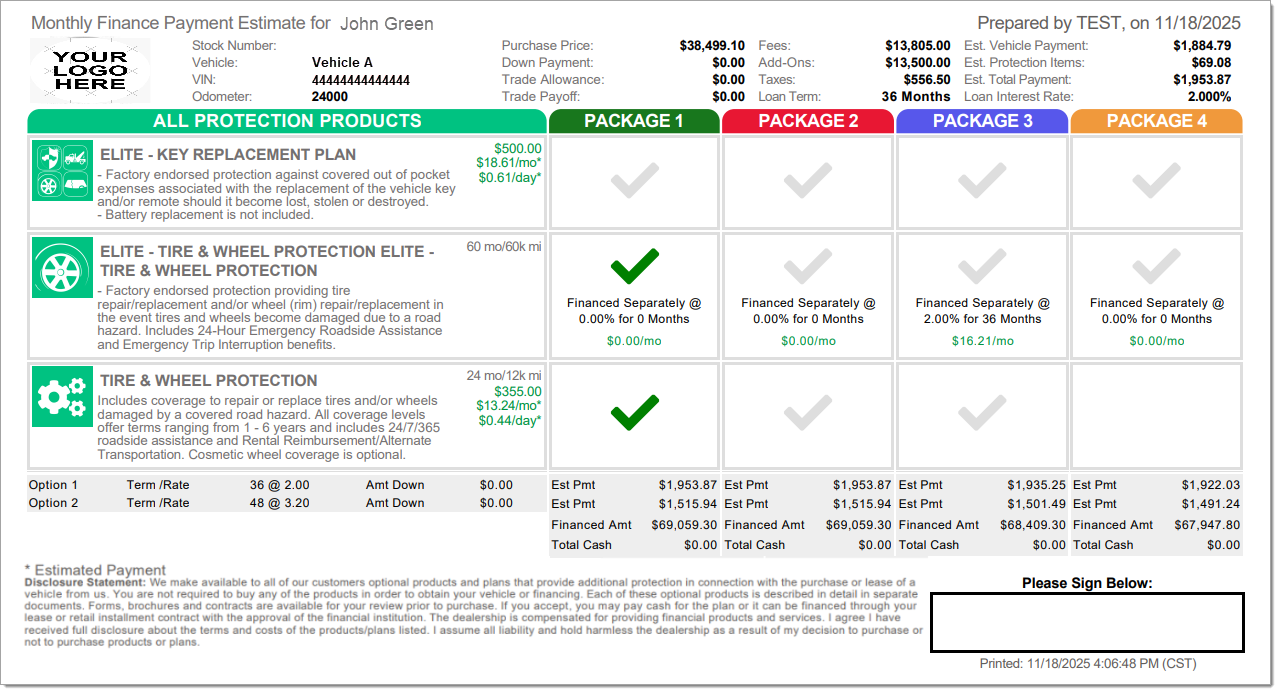
To generate and print a PDF of the menu or auxiliary documents, click the ‘Print’ drop-down menu at the top of the page and select the desired option.
- Use the drop-down menu to the left of the ‘Print Menu’ button to switch between menu types: Finance, Cash, Lease, Lease APR, or Balloon.
Once the Deal Worksheet is confirmed and saved, the rest of the process can be completed several different ways. To learn more, click on the links below.
ROUTEONE SUPPORT
Hours (EST)
Monday - Friday: 6:00am – Midnight
Saturday: 9am – 9pm
Can’t find what you need?
Try our search
