In This Guide:
Related Guides:
Credit
Submitting a Credit Application
Submitting a Credit Application
When you are creating a Credit Application in RouteOne (and not importing a Credit Application from your DSP/DMS), you will need to begin a new Credit Application and manually enter all of the required customer information for the deal.
Click here for information on importing a Credit Application from a DSP/DMS.
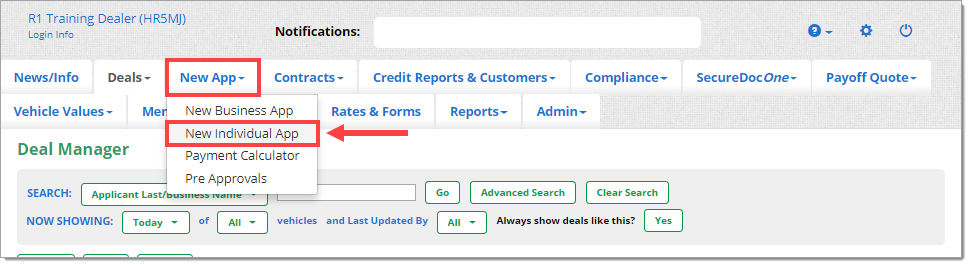
From the navigation section at the top of the page, hover over the ‘New App’ navigation tab and select ‘New Individual App.'
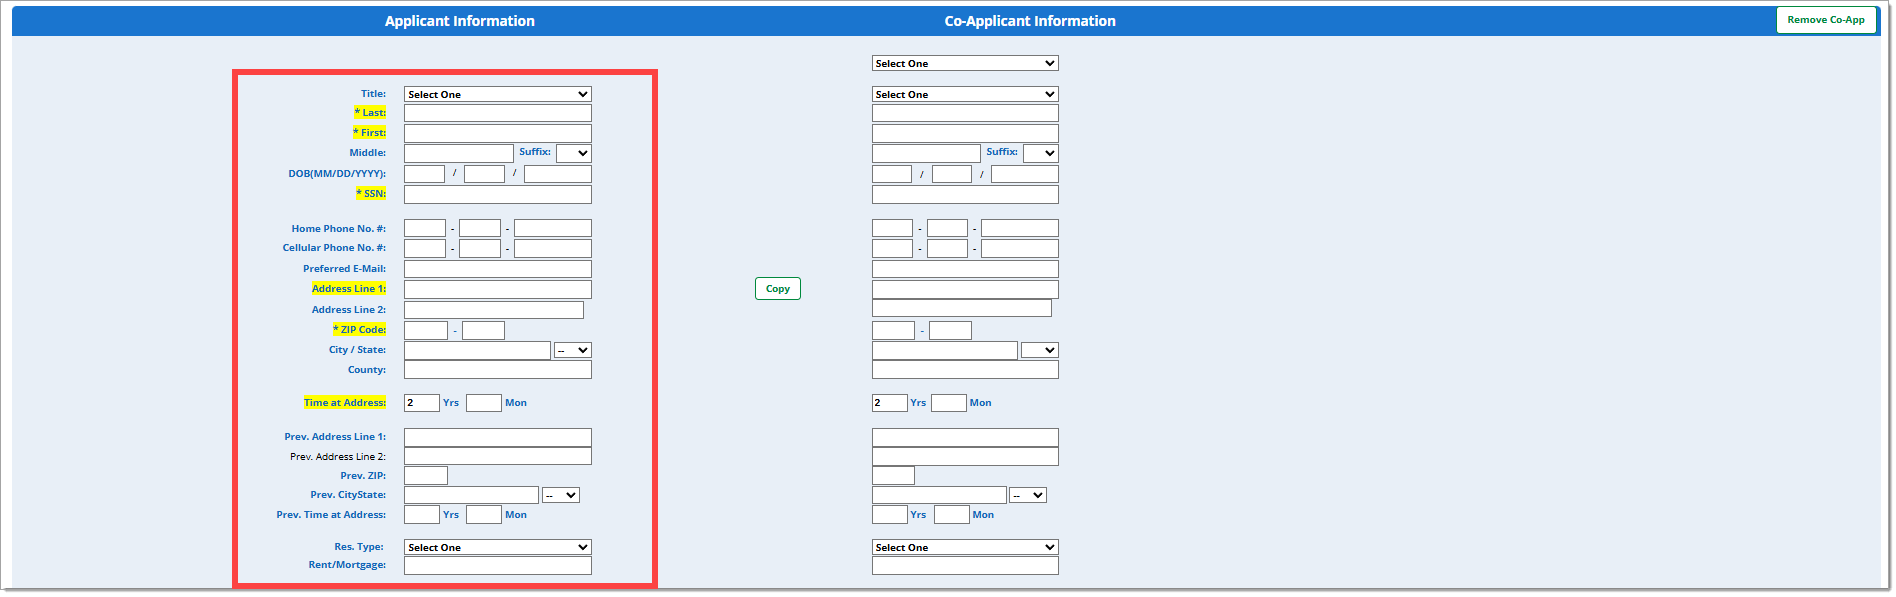
In the new Credit Application, select your ‘Transaction Type’ and the finance source(s) you want to submit the Credit Application to.

The fields displayed will be the same for all finance sources; however, the required fields for the finance source(s) you selected will be highlighted in yellow. Note that required fields may vary depending on which finance source(s) you select.
Scroll through and complete the Credit Application.
You can move through the fields using the ‘Tab’ key.
Some sections of the Credit Application have additional optional fields that can be used to provide more information to the finance source(s). Those sections have a button called ‘Show Additional Fields’ that you can click to display and complete, if needed.
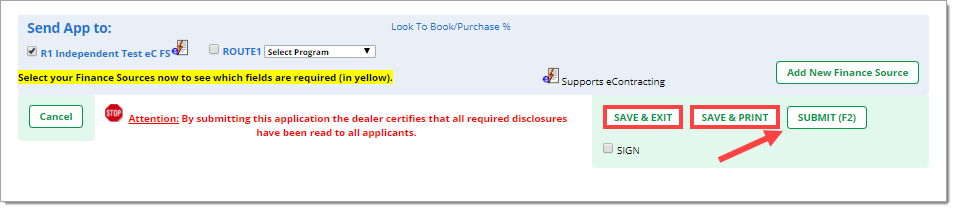
Once you have completed the Credit Application, you can click the ‘Submit’ button (or F2) to send it to your selected finance source(s).
If you are not ready to submit the Credit Application, you can click ‘Save & Exit’ or ‘Save & Print’ to save the Credit Application and exit to Deal Manager.
If there are errors or missing information in the Credit Application, RouteOne will provide an error message at the top of the page, indicating the information that needs to be corrected before the Credit Application can be submitted. The fields where errors were identified will be highlighted in red.
When you have finished fixing the errors, click the ‘Submit’ button in the bottom right-hand corner of the page to send the Credit Application to the finance source(s).

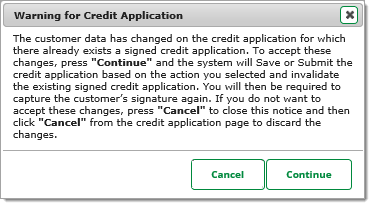
If the Credit Application was previously signed and you have added or edited the customer data, clicking ‘Submit’, ‘Save & Exit’, or ‘Save & Print’ will cause a warning message to pop up, indicating that you will need to recapture the customer’s signature.
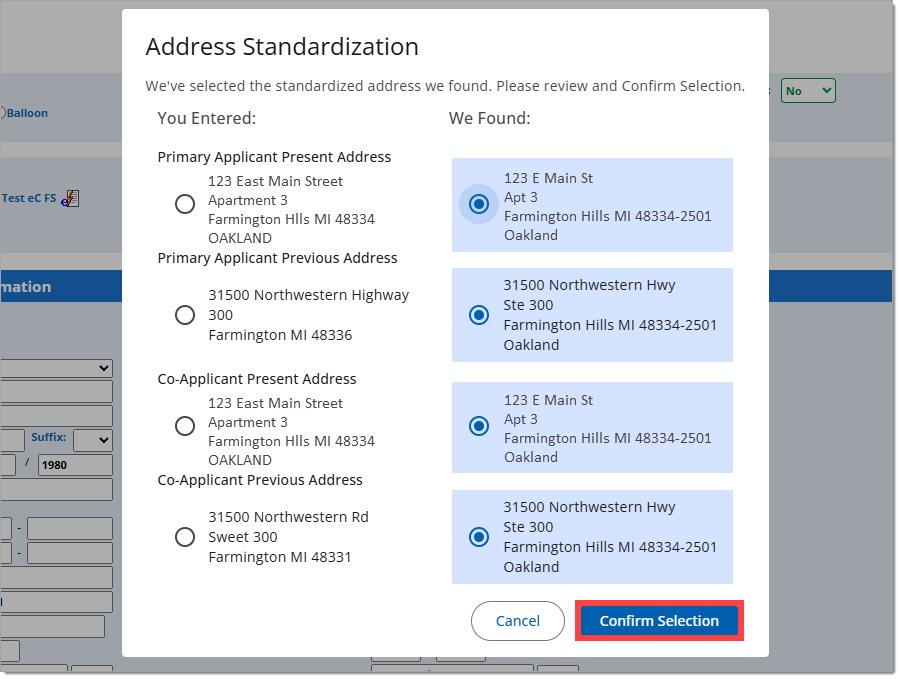
Address Standardization
Once you save or submit the application and all errors are resolved, you may get an ‘Address Standardization’ pop-up. In this pop-up, RouteOne will present the standardized versions of certain addresses entered in the Credit Application. This standardization allows for a more streamlined application experience.
Click ‘Confirm Selection’ to update the addresses to the presented format.
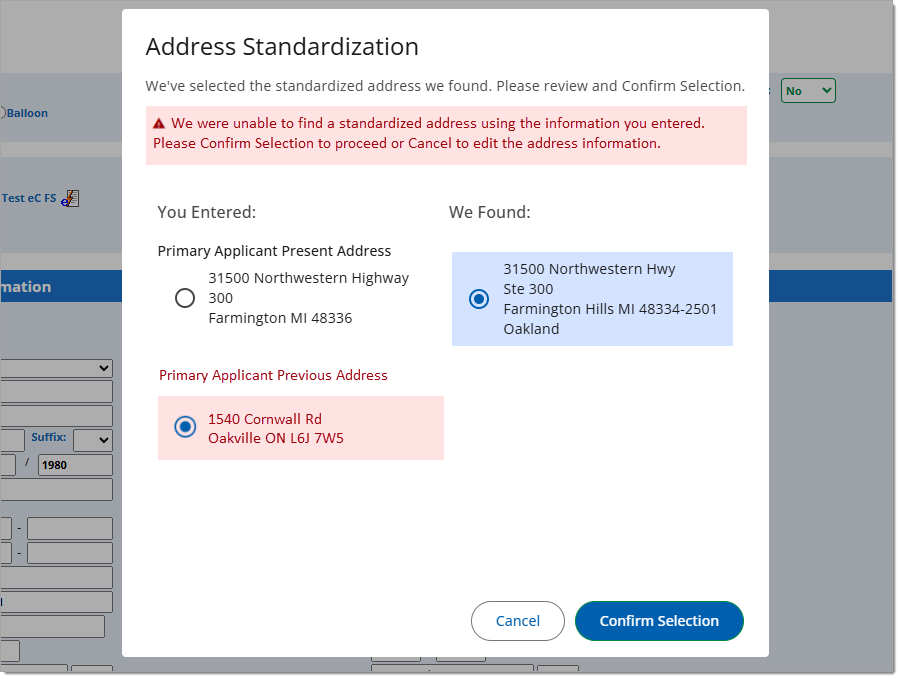
If the system is unable to find a standardized address using the information you entered, an error message will appear. You can click ‘Confirm Selection’ to continue and use the address as-is or click ‘Cancel’ to return to the application and edit the address.
The submitted Credit Application will appear in the Deal Manager. Click here for more information on using the Deal Manager.
ROUTEONE SUPPORT
Hours (EST)
Monday - Friday: 6:00am – Midnight
Saturday: 9am – 9pm
Can’t find what you need?
Try our search
