In This Guide:
Related Guides:
Integration
Genesys Credit Systems Integration
Importing Deals from Genesys to RouteOne
Within the Genesys system, navigate to the ‘Inventory’ tab at the top of the screen to pull up a vehicle.
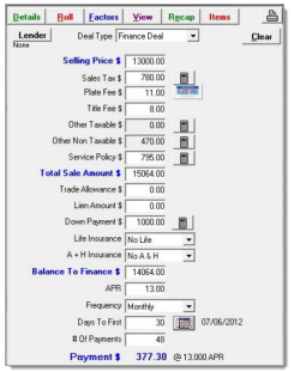
Click the ‘Finance’ tab at the top of the screen.
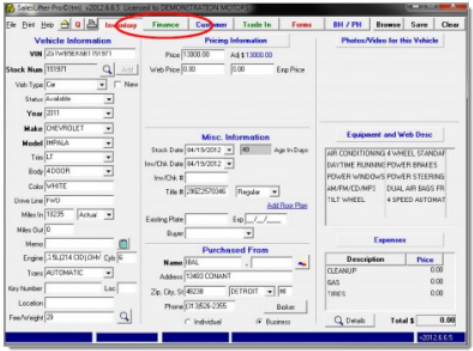
Input the finance numbers into the respective fields.
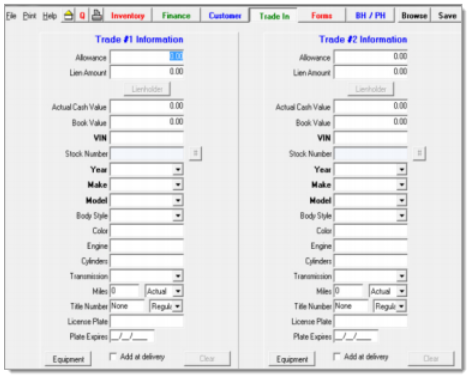
Click either the ‘Customer’ button or the ‘Trade-In’ button (if applicable).
- If there are one or two trade-ins, enter the information on the Trade-In screen, when completed; or
- if there is no trade-in, click the ‘Customer’ button at the top of the screen to enter the customer information.
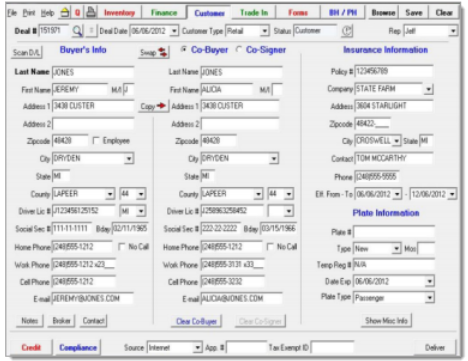
Enter in the customer information (either scan Driver’s License or enter information) on the Customer screen.
Click on the ‘Credit’ button in the lower left hand corner of the Customer screen.
Enter the credit application information, and click on the ‘Credit Application’ button.
The RouteOne Dashboard can also be used as a quick link to open the RouteOne Dashboard.
You may be prompted to enter your RouteOne credentials to access RouteOne.

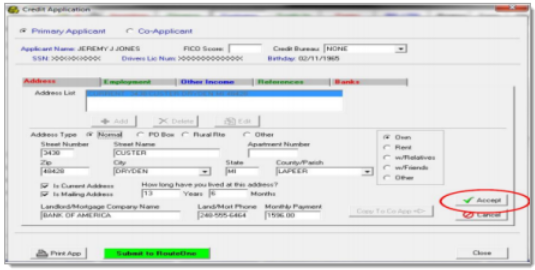
Several fields automatically pull from the Customer Screen. Input remaining fields as necessary and click the ‘Accept’ button.
Click on the Employment tab to enter employment information, then click the ‘Accept’ button.
Click the ‘Submit to RouteOne’ button. This completes the deal and submits it to the RouteOne Dashboard. When the transmission is completed, you will be prompted with a dialog box asking if you wish to go to the RouteOne Dashboard. Click ‘Yes’ to be directed to the RouteOne Dashboard.
Locating Imported Deals in the RouteOne Deal Manager
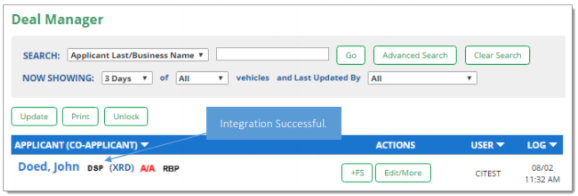
The Deal Manager is considered the hub of RouteOne, and is designed to help quickly scan and identify the status of deals with easy-to-read icons. The default view shows the last three days of activity, ranked by last activity date/time (most recent first). Only deals with activity in the last 60 days are available for display.
The Deal Manager is accessible by selecting ‘Deal Manager’ within the ‘Deals’ tab. An important tool within the Deal Manager is the ‘Edit/More’ button under the ‘Actions’ column. From here, dealers can easily view, print, copy, or edit an application; run swap the applicant/co-applicant, remove co-applicant, initiate credit reports, create an Adverse Action notice, and more.
Click the ‘Update’ button located in the upper left-hand side of the screen. The page will refresh and the imported application will display as the first record in the Deal Manager.
Submitting Imported Deals in the RouteOne Deal Manager
To submit an imported deal to a finance source, click on the primary applicant's name in the Deal Manager. Next, you will be taken through the RouteOne application submission process used for all applications. Data entered in your system will populate the RouteOne credit application; however, you must still complete the required fields highlighted in yellow and add at least one finance source before submitting the application.
ROUTEONE SUPPORT
Hours (EST)
Monday - Friday: 6:00am – Midnight
Saturday: 9am – 9pm
Can’t find what you need?
Try our search
