In This Guide:
Related Guides:
Credit
Using the Mobile Point of Sale (MPS) Application - Digital Retail Services
Before you are able to start capturing customer information on the RouteOne Mobile Point of Sale Application on your tablet device, you must first set up your application, and install the mobile application on your device.
Based on your subscription level, the application can be used to:
- Capture lead form information from a customer
Standard and Premium subscription levels only - Capture online credit application data from a customer (‘Individual’)
All Digital Retail subscription levels - Capture online credit application data from a business (‘Business’)
Standard and Premium subscription levels only - Capture payment call information from a customer
Premium subscription level only
Each of these options are configurable and must be turned on or off by your Dealership System Administrator (DSA).
Capture lead form information from a customer
For Standard and Premium subscription levels only.
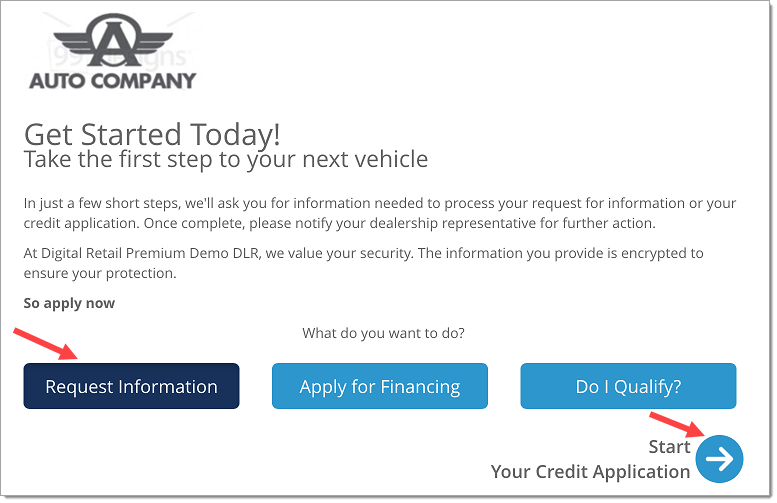
Open the Mobile Point of Sale application, select the ‘Request Information’ option, and tap the ‘Start Your Credit Application’ button.
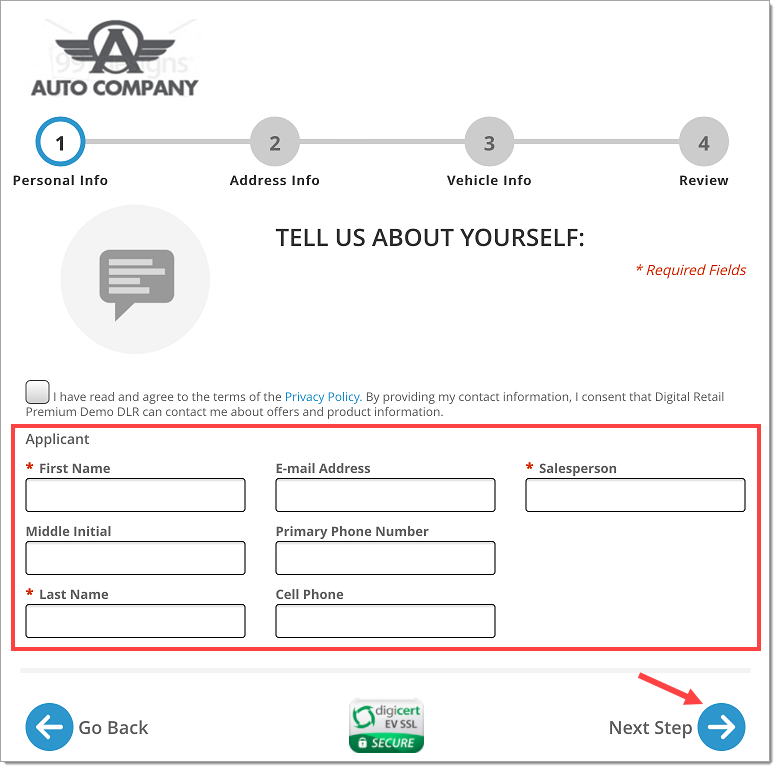
You may now hand the tablet to the customer to complete the form.
The customer should enter in their information on the ‘Personal Info’ page, then tap the ‘Next Step’ button.
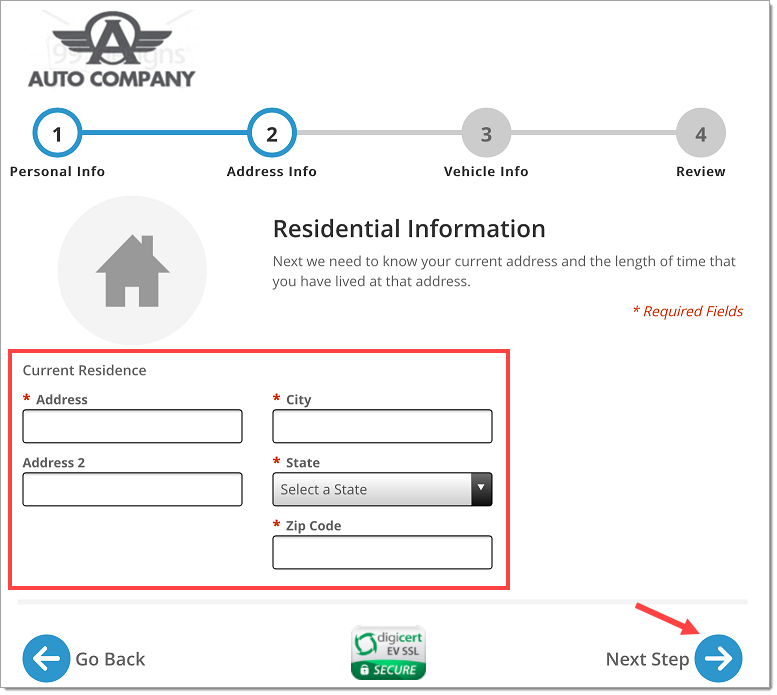
The customer should then enter their information on the ‘Address Info’ page, then tap the ‘Next Step’ button.
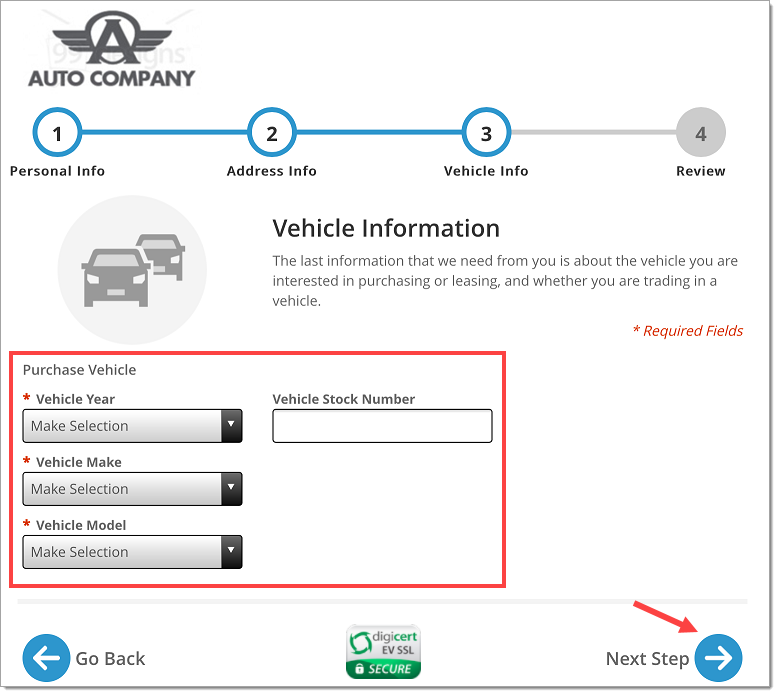
The customer should then enter their information on the ‘Vehicle Info’ page, then tap the ‘Next Step’ button.
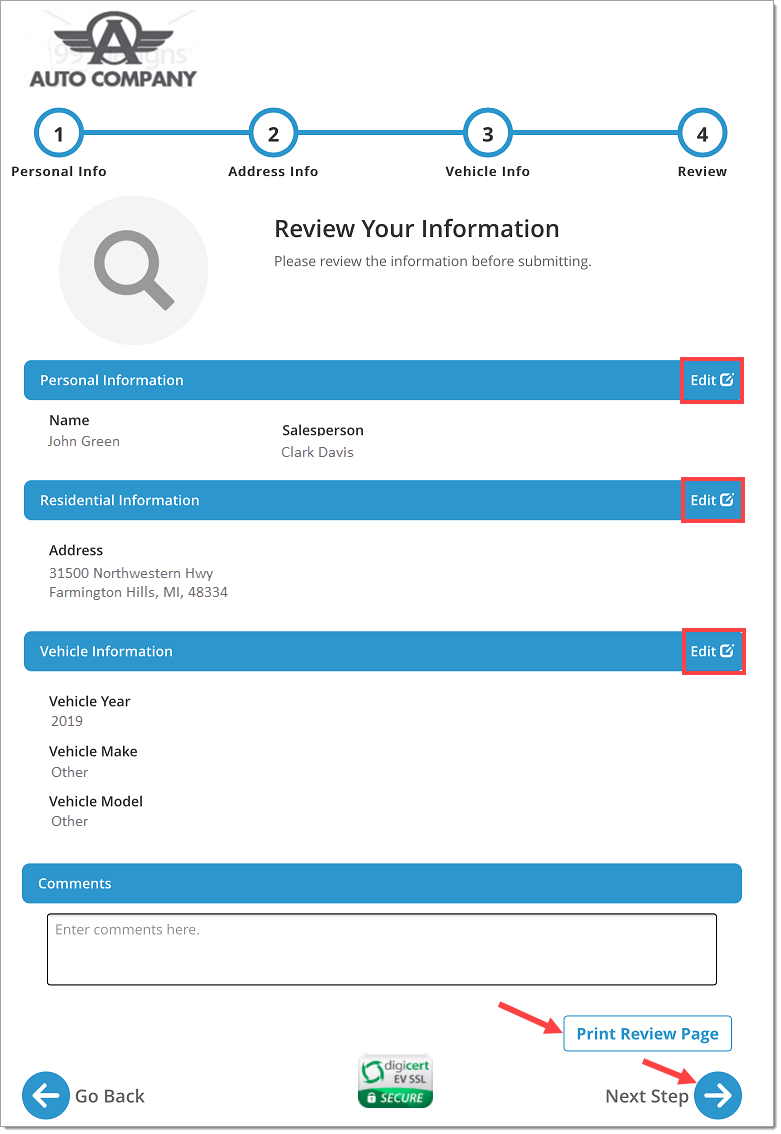
The customer should then review their information on the ‘Review’ page. If needed, tap ‘Edit’ on the sections that need edits.
Tap the ‘Print Review Page’ button to print the review page.
Once completed, tap ‘Next Step.’
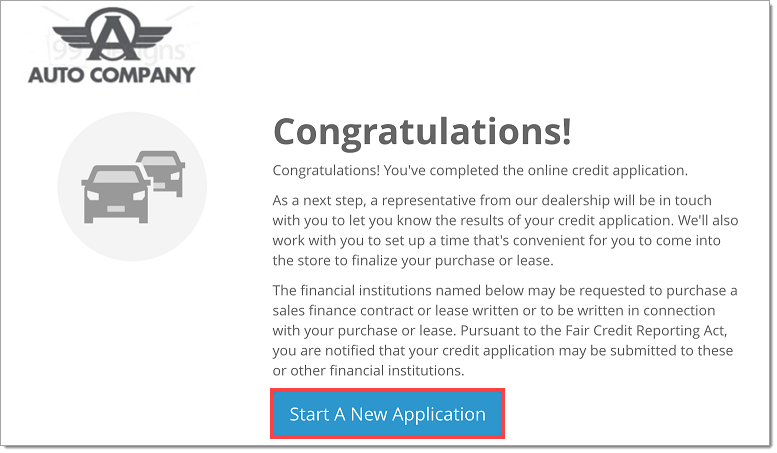
The lead form is now complete. The dealer will now be able to locate the information entered from the customer in the RouteOne system.
To immediately start a new application, tap the ‘Start A New Application’ button.
Capture online credit application data from a customer
For all Digital Retail subscription levels.
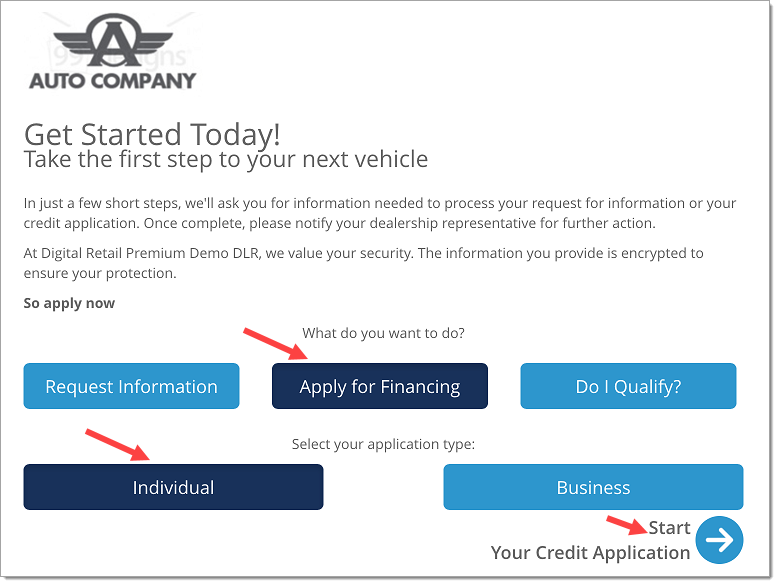
Open the Mobile Point of Sale application, select the ‘Apply for Financing’ option, select ‘Individual’ or ‘Business,’ and tap the ‘Start Your Credit Application’ button.
In this example select ‘Individual.’
When completing a ‘Business’ application (Standard and Premium Digital Retail subscribers only), the customer will have a similar workflow, however they will be asked for business specific information instead of personal information, such as: the legal business name, the tax ID, and the gross profit of the business.
You may now hand the tablet for your customer to complete the online credit application.
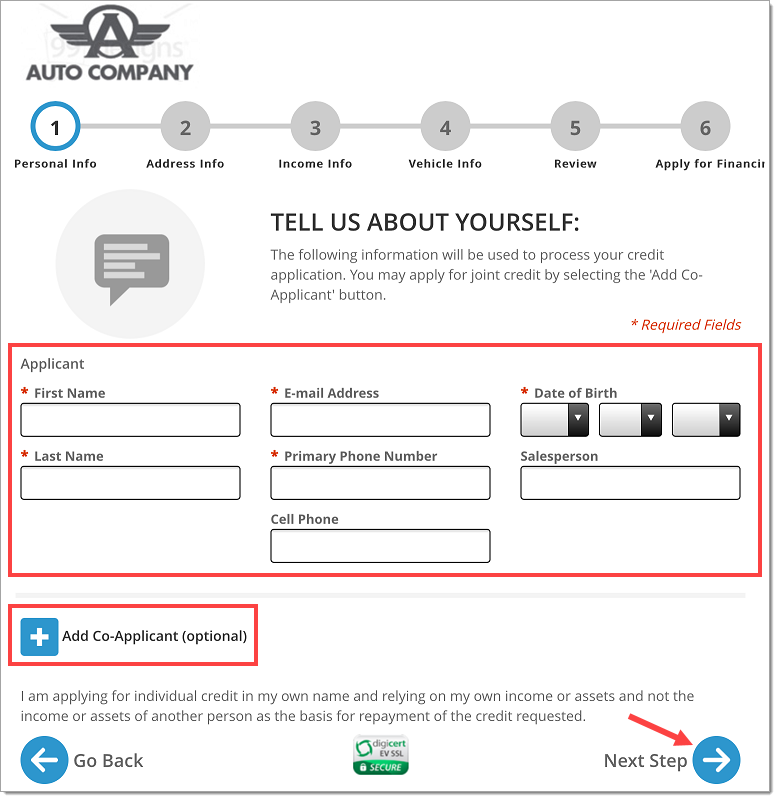
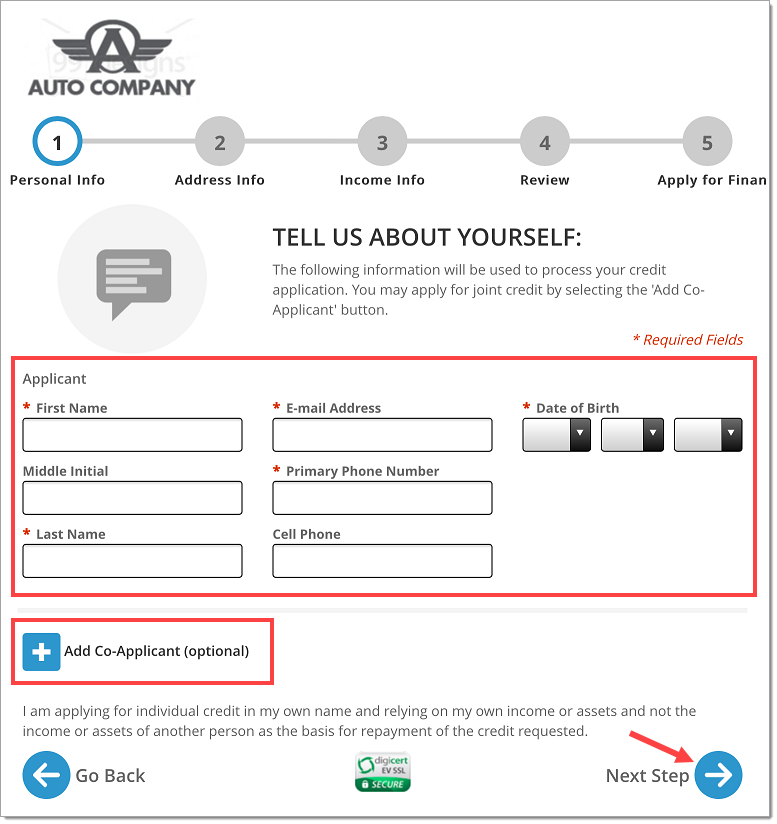
The customer should enter in their information on the ‘Personal Info’ page.
If relevant, tap the ‘+’ button to add the co-applicant section, and have the co-applicant enter their information.
Once completed, the customer should tap the ‘Next Step’ button.
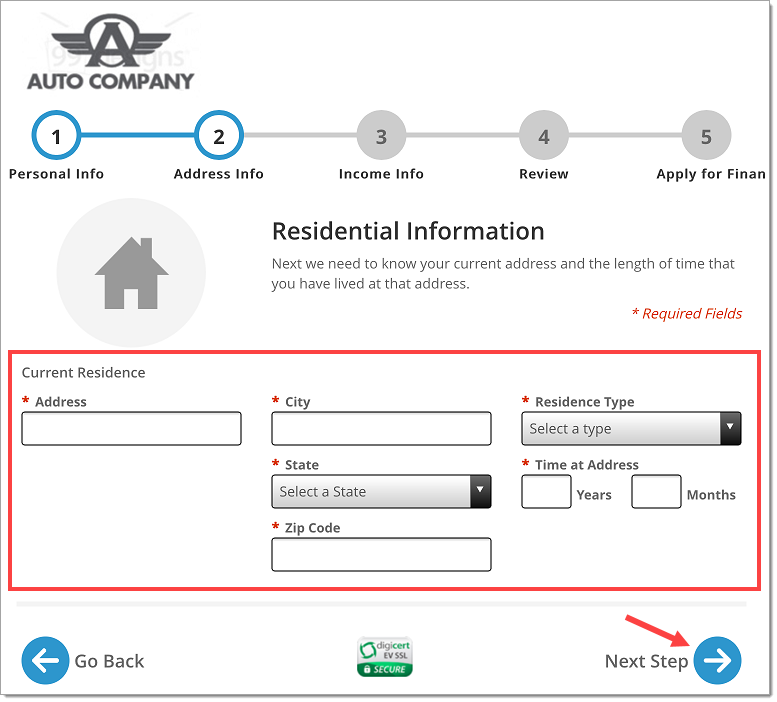
The customer should then enter their information on the ‘Address Info’ page, and tap the ‘Next Step’ button.
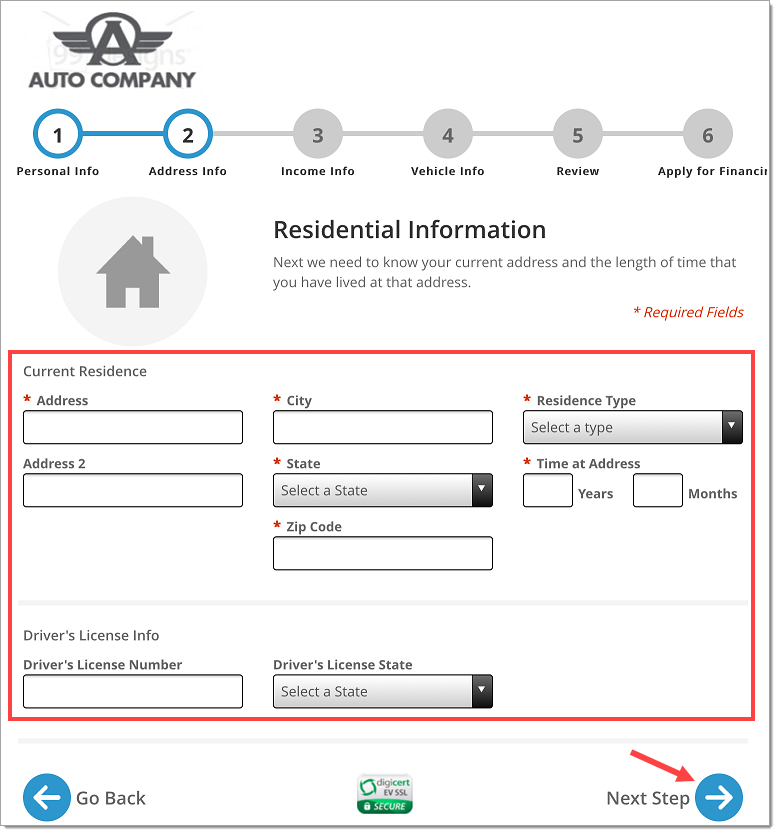
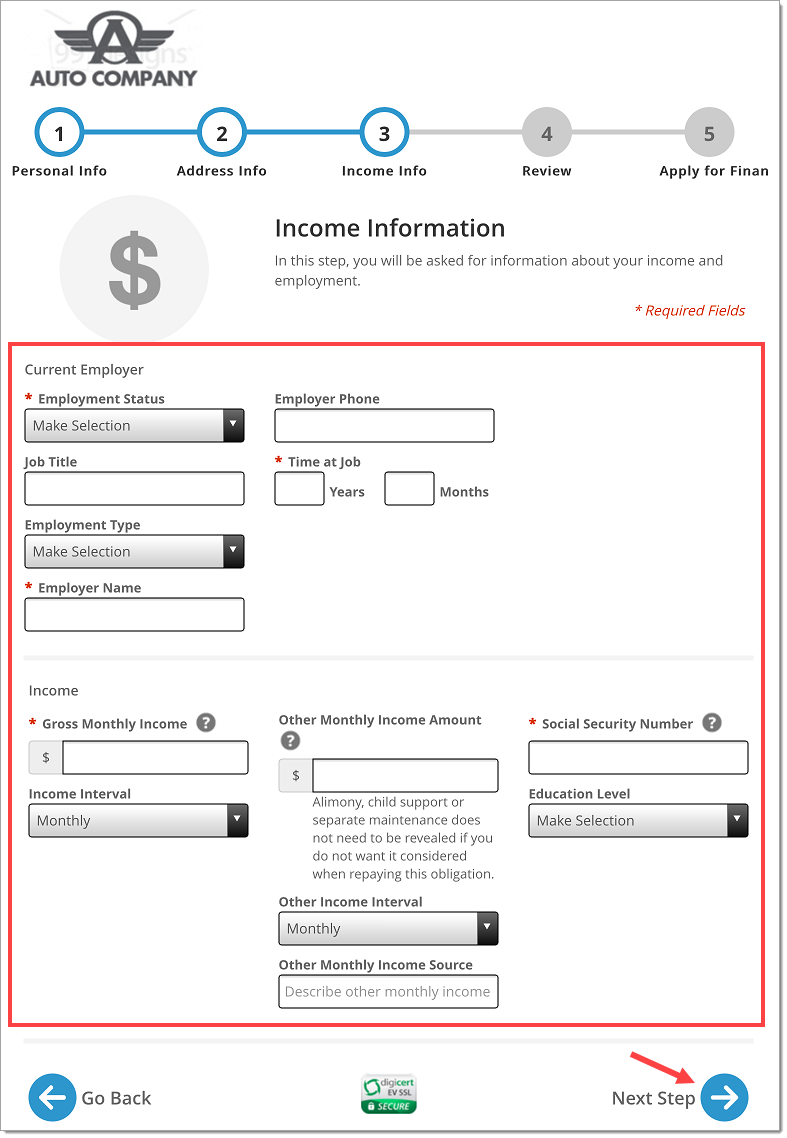
The customer should then enter their information on the ‘Income Info’ page, and tap the ‘Next Step’ button.
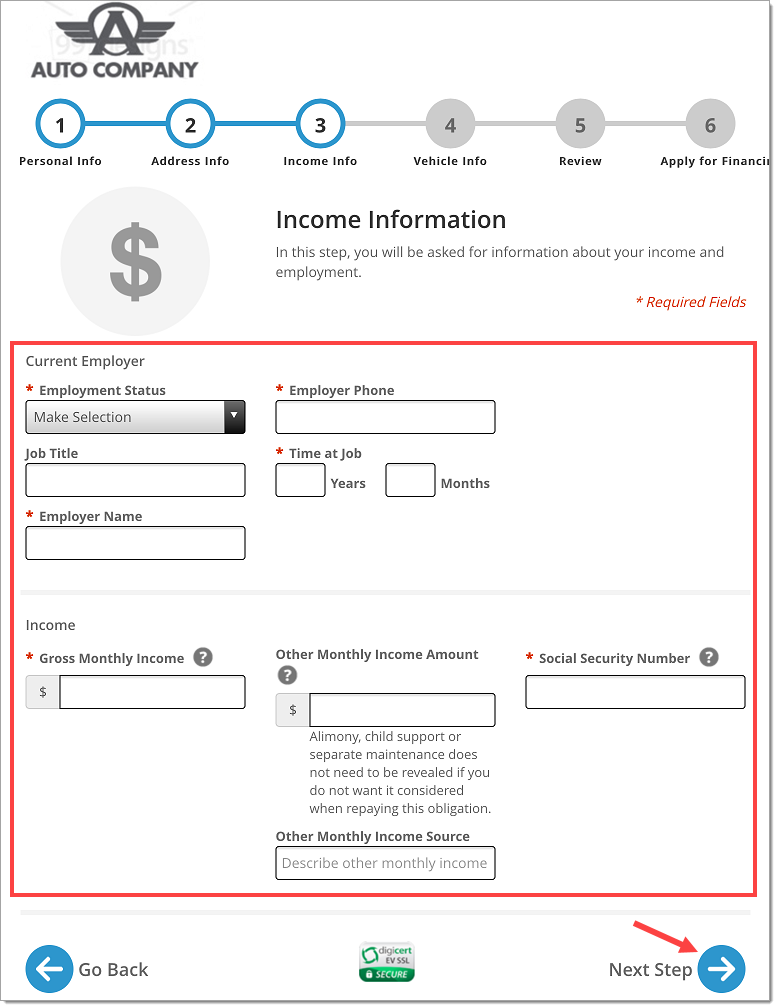
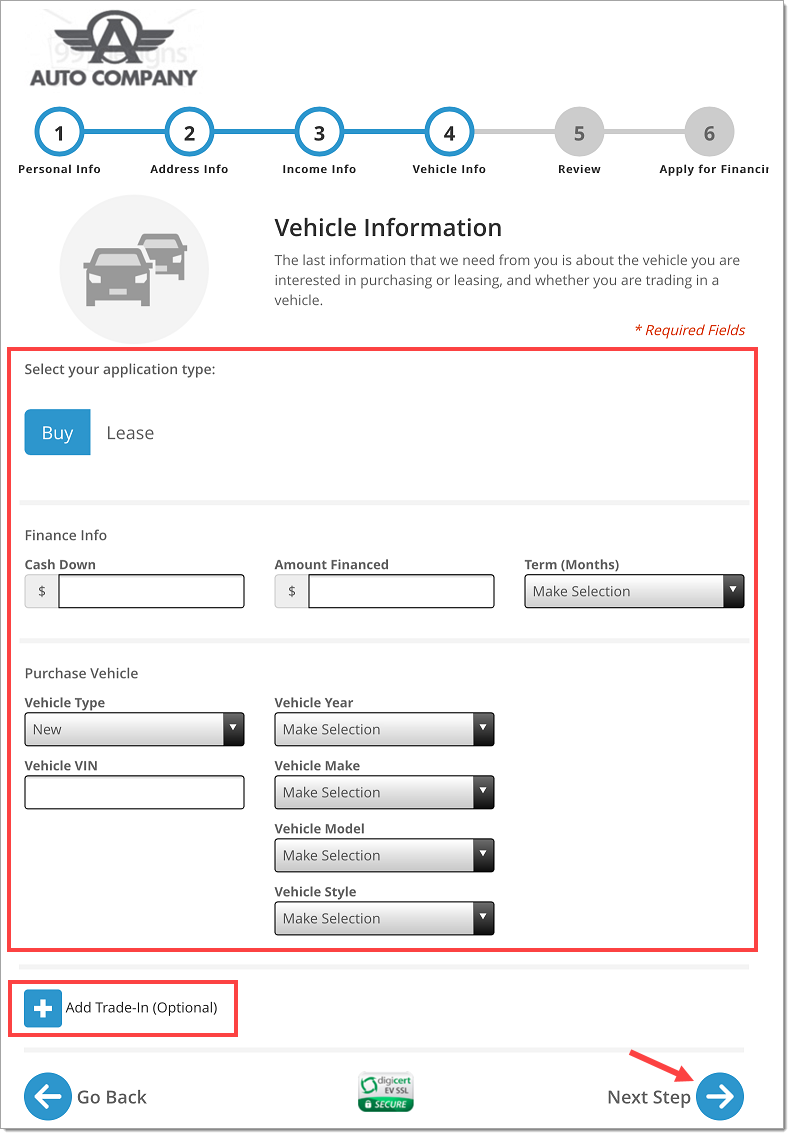
The customer should then enter their information on the ‘Vehicle Info’ page.
If relevant, tap the ‘+’ button to add the trade-in section, and have the customer enter the trade-in vehicle information.
Once completed, the customer should tap the ‘Next Step’ button.
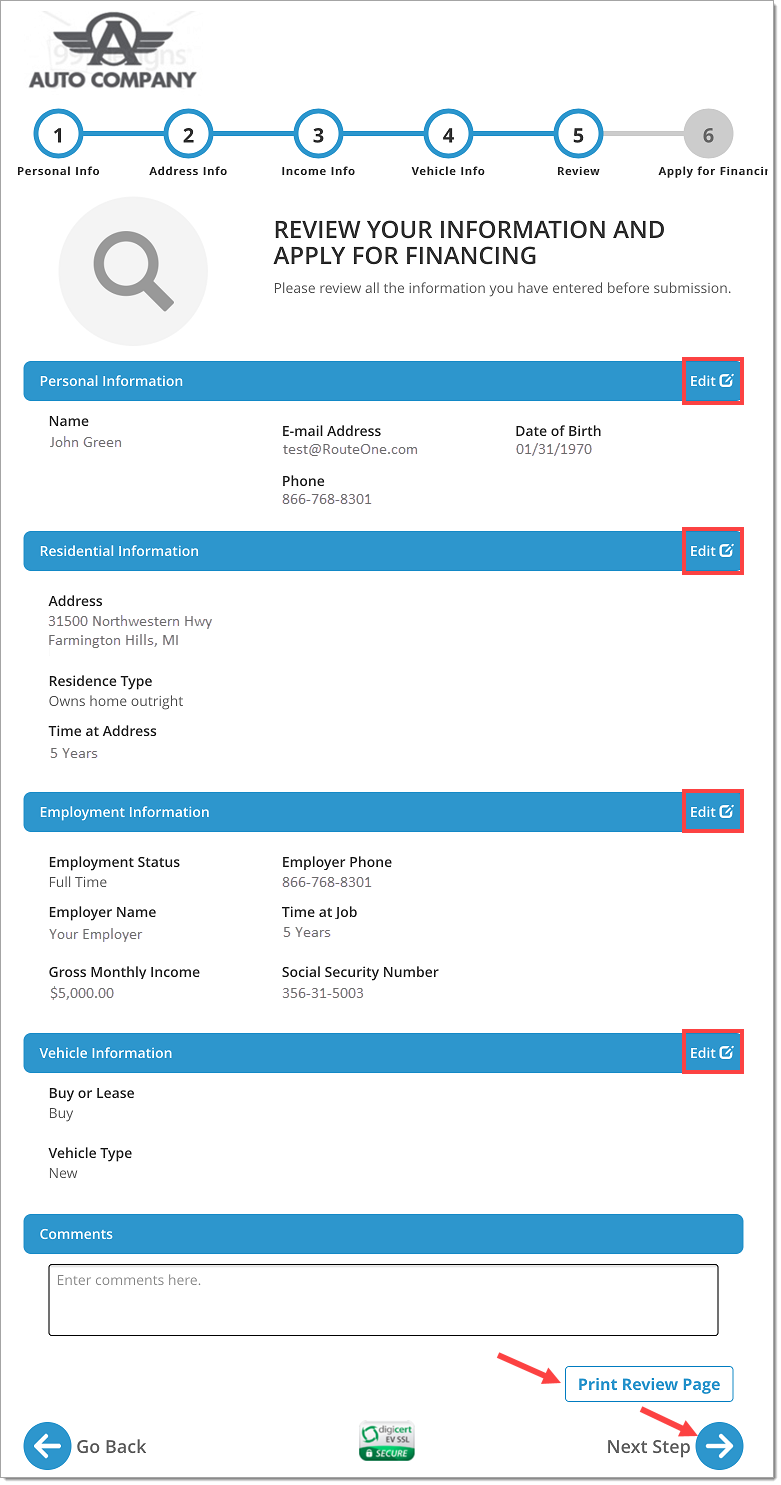
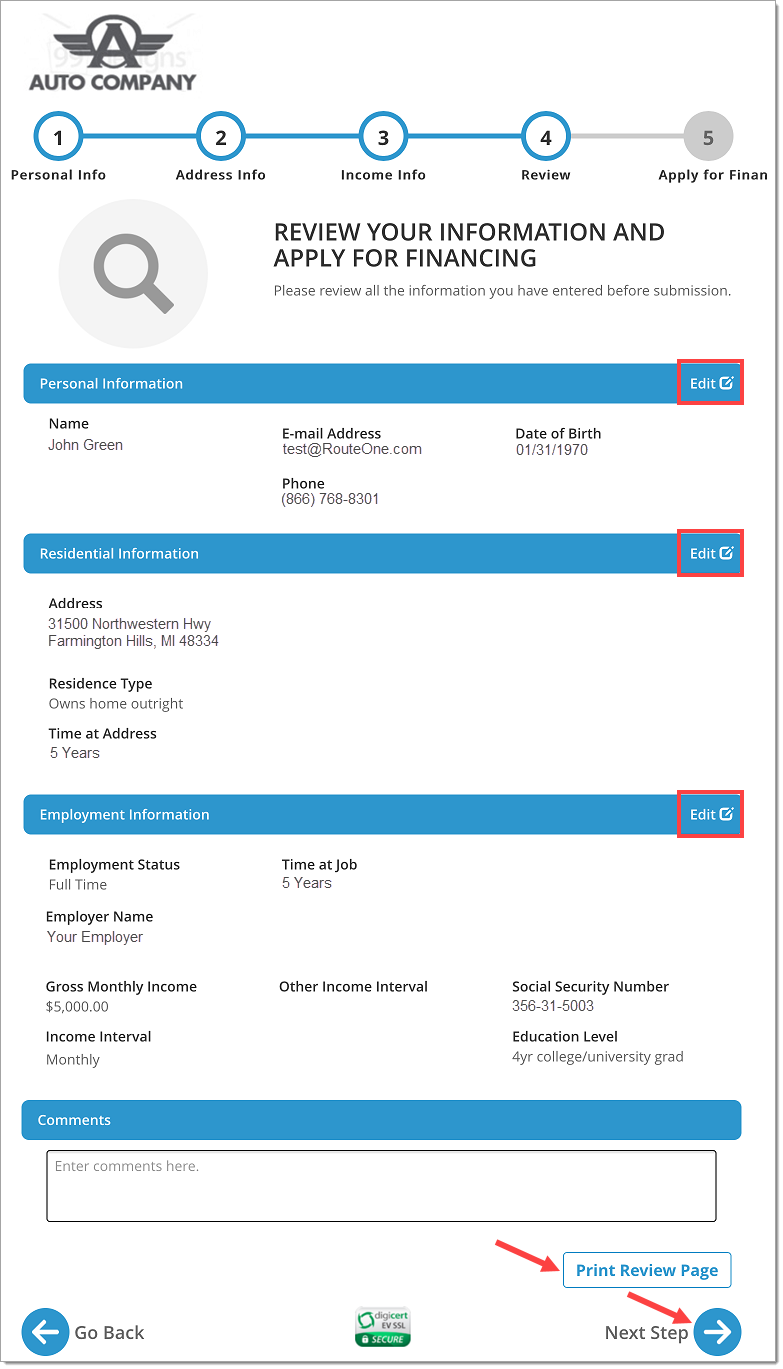
The customer should then review the entered information on the ‘Review’ page. If needed, tap ‘Edit’ on the sections that need edits.
Tap the ‘Print Review Page’ button to print the review page.
Once completed, tap the ‘Next Step’ button.
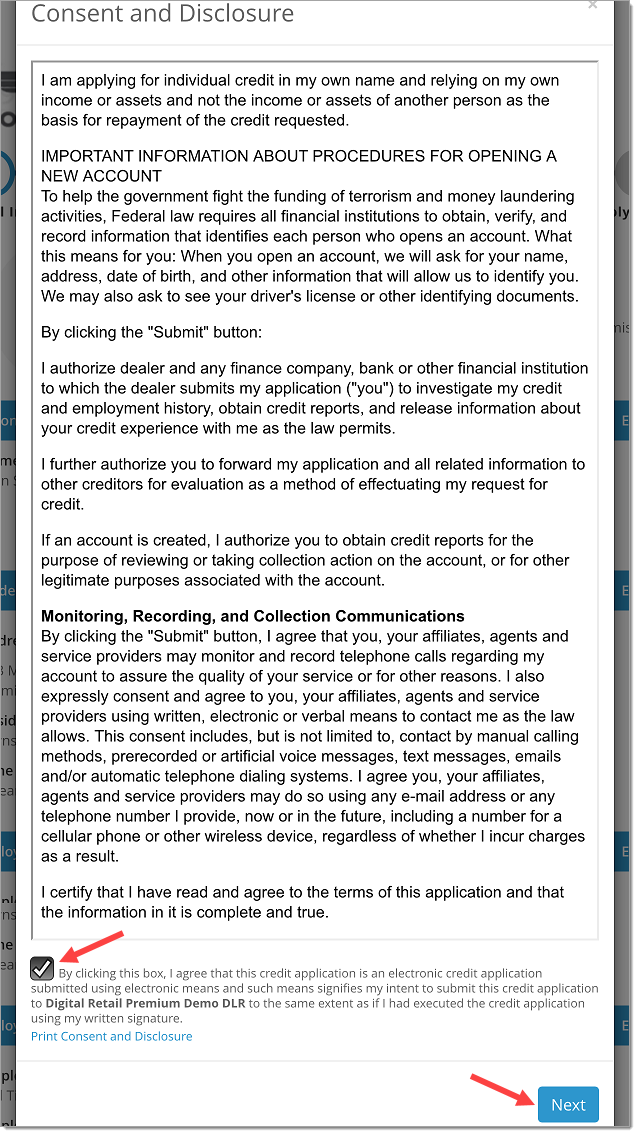
The customer should then agree to the Consent and Disclosure, and tap the ‘Next’ button.

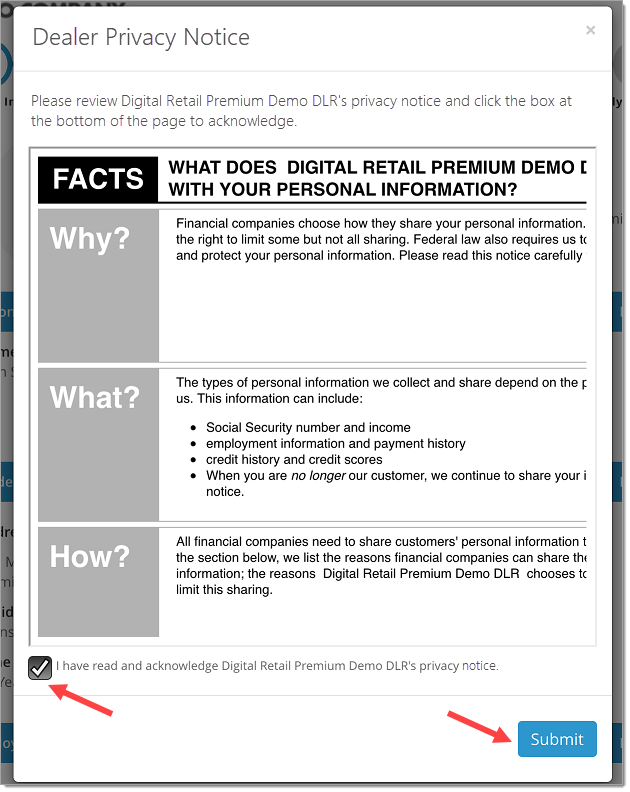
The customer should then agree to the Dealer Privacy Notice, then tap the ‘Submit’ button.

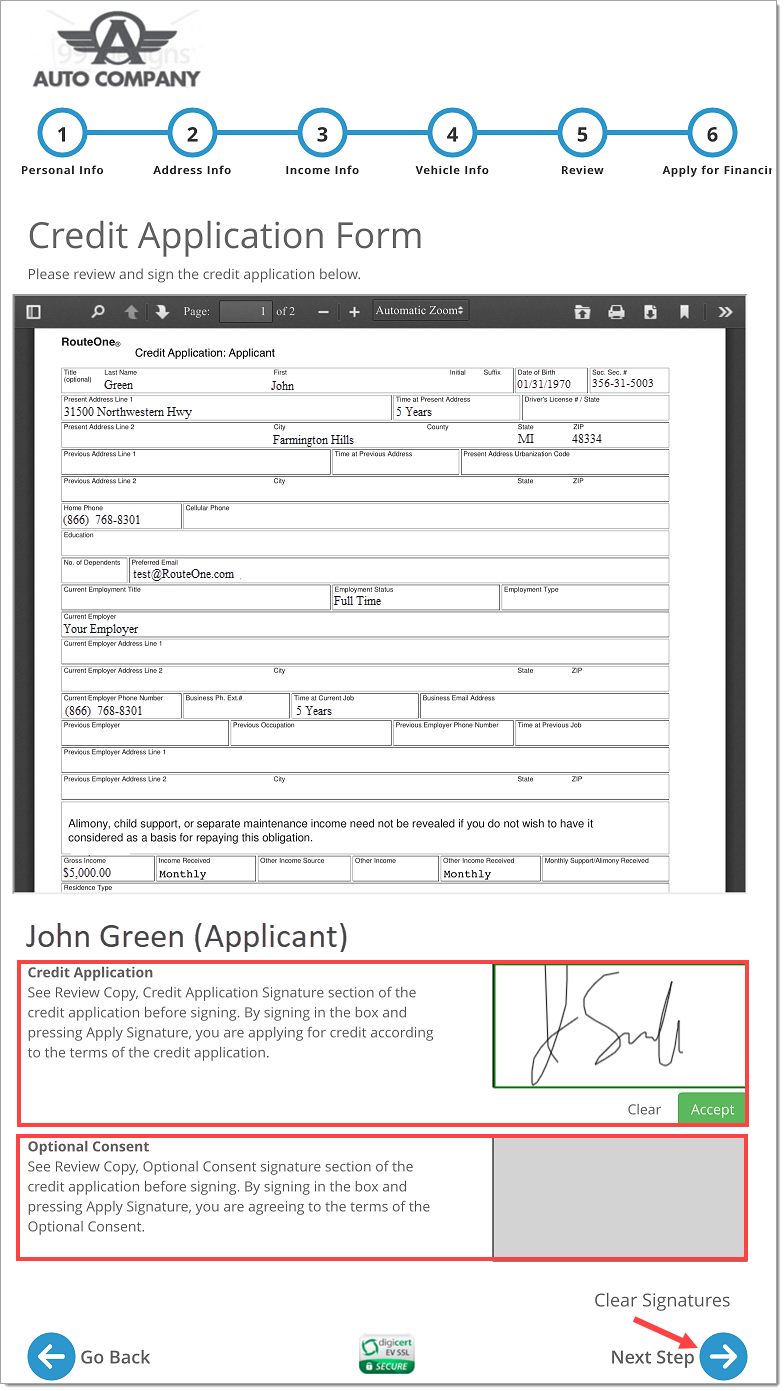
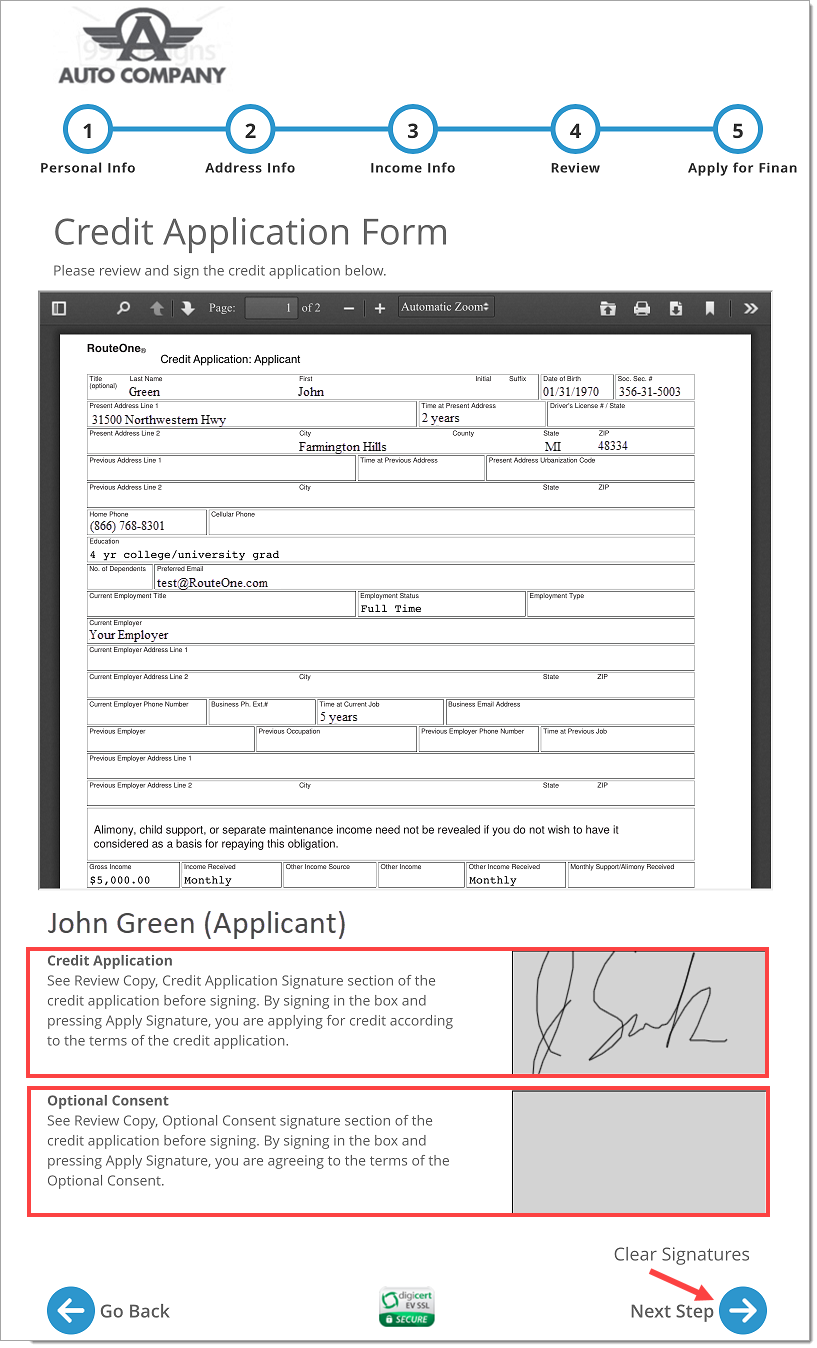
The customer should then sign the credit application, and tap the ‘Accept’ button.
For the customer to accept the optional consent, they should sign and tap ‘Accept.’ To opt out of receiving marketing material from the dealer, the customer should tap the ‘ ‘Do not accept’ button.
If needed, tap ‘Clear Signatures’ to re-sign the credit application.
Once completed, tap the ‘Next Step’ button.
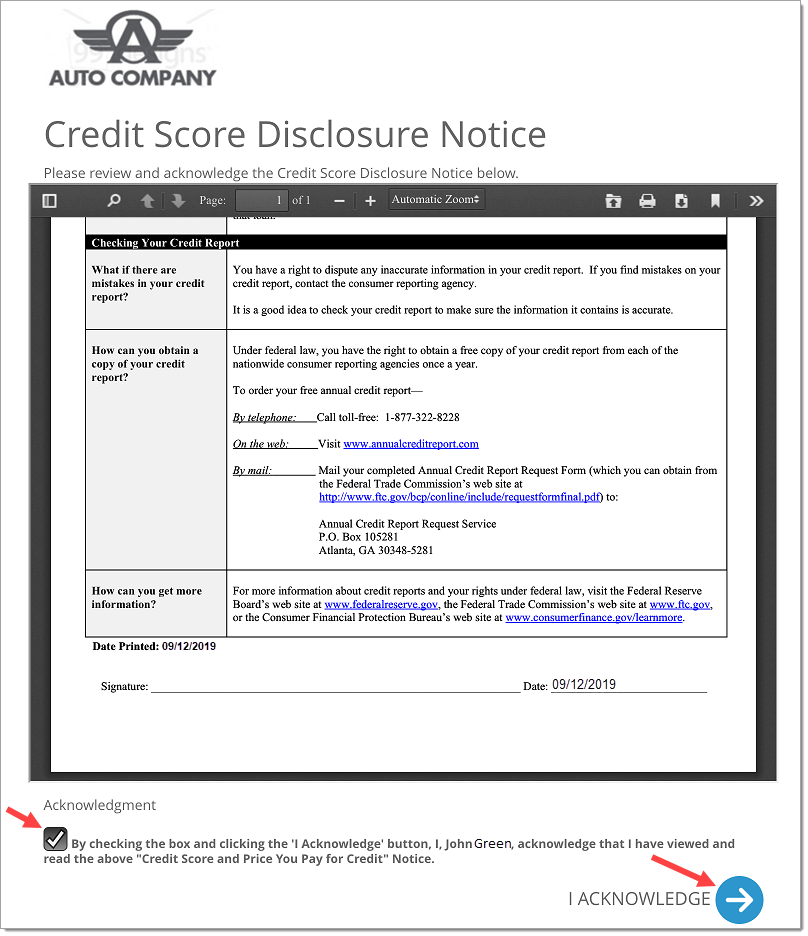
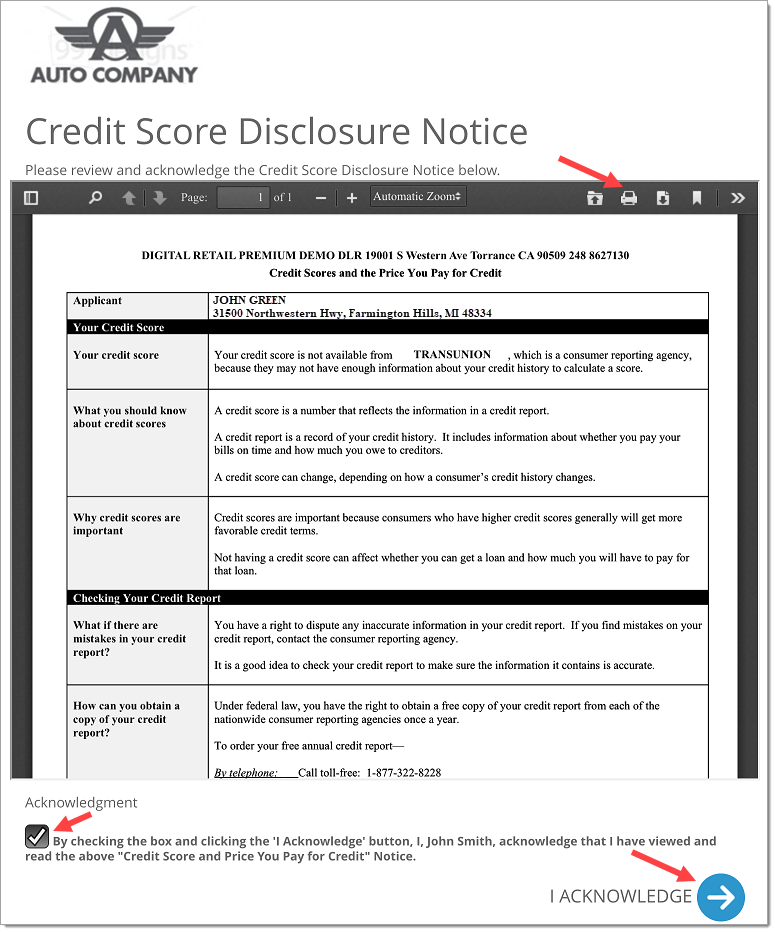
The customer should then acknowledge the Credit Score Disclosure Notice, and tap the ‘I Acknowledge’ button.
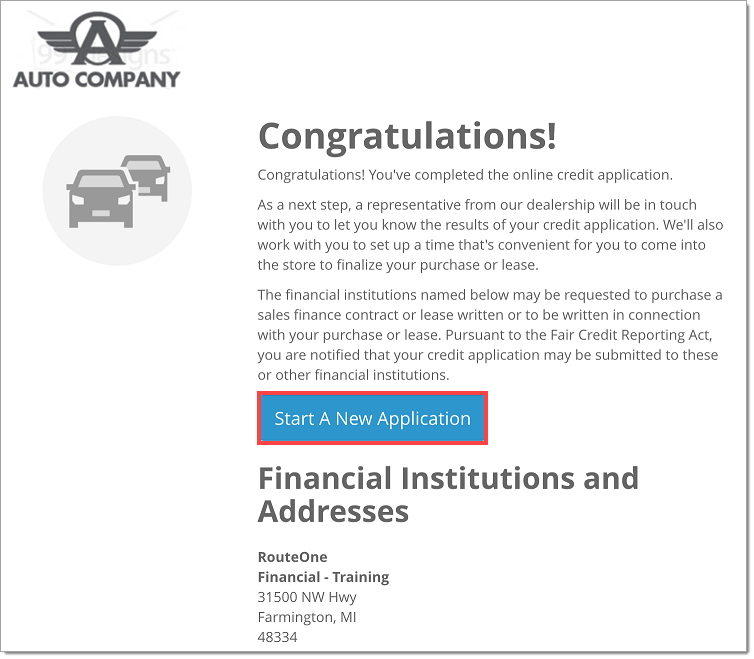
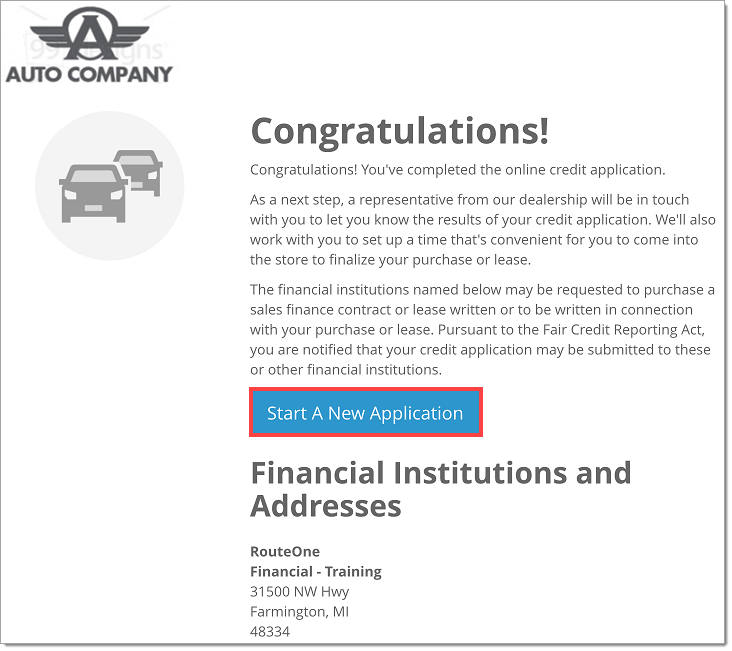
The online credit application is now complete. The dealer will be able to locate the entered information from the customer in the RouteOne system.
To immediately start a new application, tap the ‘Start A New Application’ button.
Capture payment call information from a customer
For Premium subscription levels only.
Payment call must be turned on separately.
Click ‘Admin’ from the top navigation and select ‘Premium Services.’
Click ‘Digital Retail’ to expand the section, and under the ‘Mobile Point of Sale Configuration’ section, click the ‘Edit Configuration’ button.
Select which options you would like to turn on for payment call and click ‘Save’ to apply your changes.
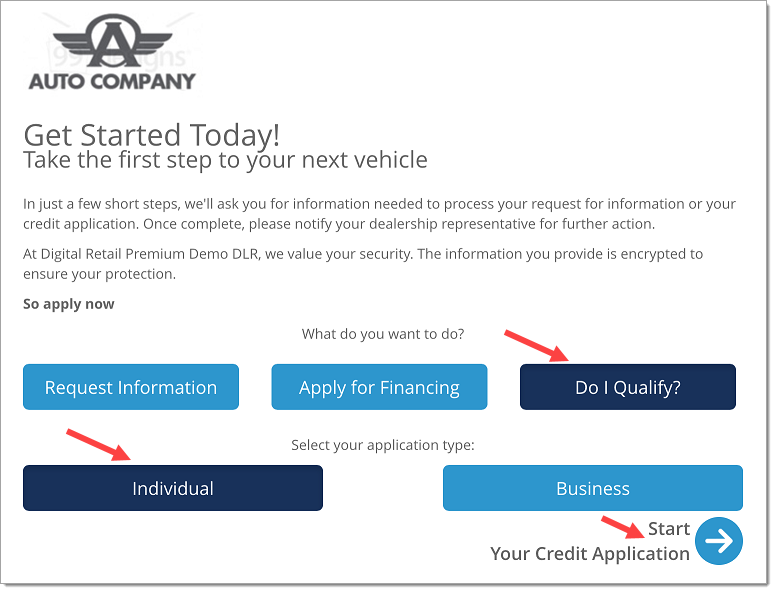
Open the Mobile Point of Sale application, select the ‘Do I Qualify’ option, select ‘Individual’ or ‘Business,’ and tap the ‘Start Your Credit Application’ button.
In this example select ‘Individual.’
When completing a ‘Business’ application the customer will have a similar workflow, however they will be asked for business specific information instead of personal information, such as: the legal business name, the tax ID, and the gross profit of the business.
You may now hand the tablet for your customer to complete the online credit application.
The customer should enter in their information on the ‘Personal Info’ page.
If relevant, tap the ‘+’ button to add the co-applicant section, and have the co-applicant enter their information.
Once completed, the customer should tap the ‘Next Step’ button.
The customer should then enter their information on the ‘Address Info’ page, and tap the ‘Next Step’ button.
The customer should then enter their information on the ‘Income Info’ page, and tap the ‘Next Step’ button.
The customer should then review their information on the ‘Review’ page. If needed, tap ‘Edit’ on the sections that need edits.
Tap the ‘Print Review Page’ button to print the review page.
Once completed, tap ‘Next Step.’
The customer should then agree to the Consent and Disclosure, and tap the ‘Next’ button.
The customer should then agree to the Dealer Privacy Notice, then tap the ‘Submit’ button.
The customer should then sign the credit application, and tap the ‘Accept’ button.
For the customer to accept the optional consent, they should sign and tap ‘Accept.’ To opt out of receiving marketing material from the dealer, the customer should tap the ‘ ‘Do not accept’ button.
If needed, tap ‘Clear Signatures’ to re-sign the credit application.
Once completed, tap the ‘Next Step’ button.
To print the notice, tap the ‘Printer’ icon.
The customer should then acknowledge the Credit Score Disclosure Notice, and tap the ‘I Acknowledge’ button.
The online credit application is now complete. The dealer user will be able to locate the entered information from the customer in the RouteOne system.
To immediately start a new application, tap the ‘Start A New Application’ button.
ROUTEONE SUPPORT
Contact
Phone: 866.768.8301
Email: r1support@routeone.com
Hours (EST)
Monday - Friday: 6:00am – Midnight
Saturday: 9am – 9pm
Can’t find what you need?
Try our search
